With its promise to de-puff and firm up the skin, nothing feels more heavenly than the flicking, pummelling and rolling segment of any facial. We ask an expert for the ultimate guide to facial massage at home
Stress and gravity are no match for pure tension-melting, skin-sculpting facial massage. With its repetitive pinching, kneading and rolling, it’s an art form that dates back to the 19th century in Sweden and is still lauded for its myriad benefits today. Among these are brighter skin, more chiselled facial contours and, by happy coincidence, improved breath work, as a few minutes spent massaging your face can be an almost meditative
experience.
We have roughly 300 pressure points on the face. Each ones relates to the body, so when you do facial massage you impact every organ as well as kneading away fatigue and puffiness. Consequently, a primary focus for all that manipulation and massage is an uptick in lymphatic drainage. “Facial massage helps to reduce the tension that impedes proper lymphatic drainage,” says Lisa Halldén, an aesthetician and brand manager for Babor Sweden. “When the lymph nodes become blocked, the body struggles to cleanse itself of waste products and toxins, which can leave your skin looking dull and grey.”
Increased blood flow to the area also helps to restore skin’s glow. “By boosting blood circulation, oxygen reaches the underlying tissues and more nutrients are able to feed our skin cells,” adds Halldén, who notes that your skincare products will absorb much better, too.
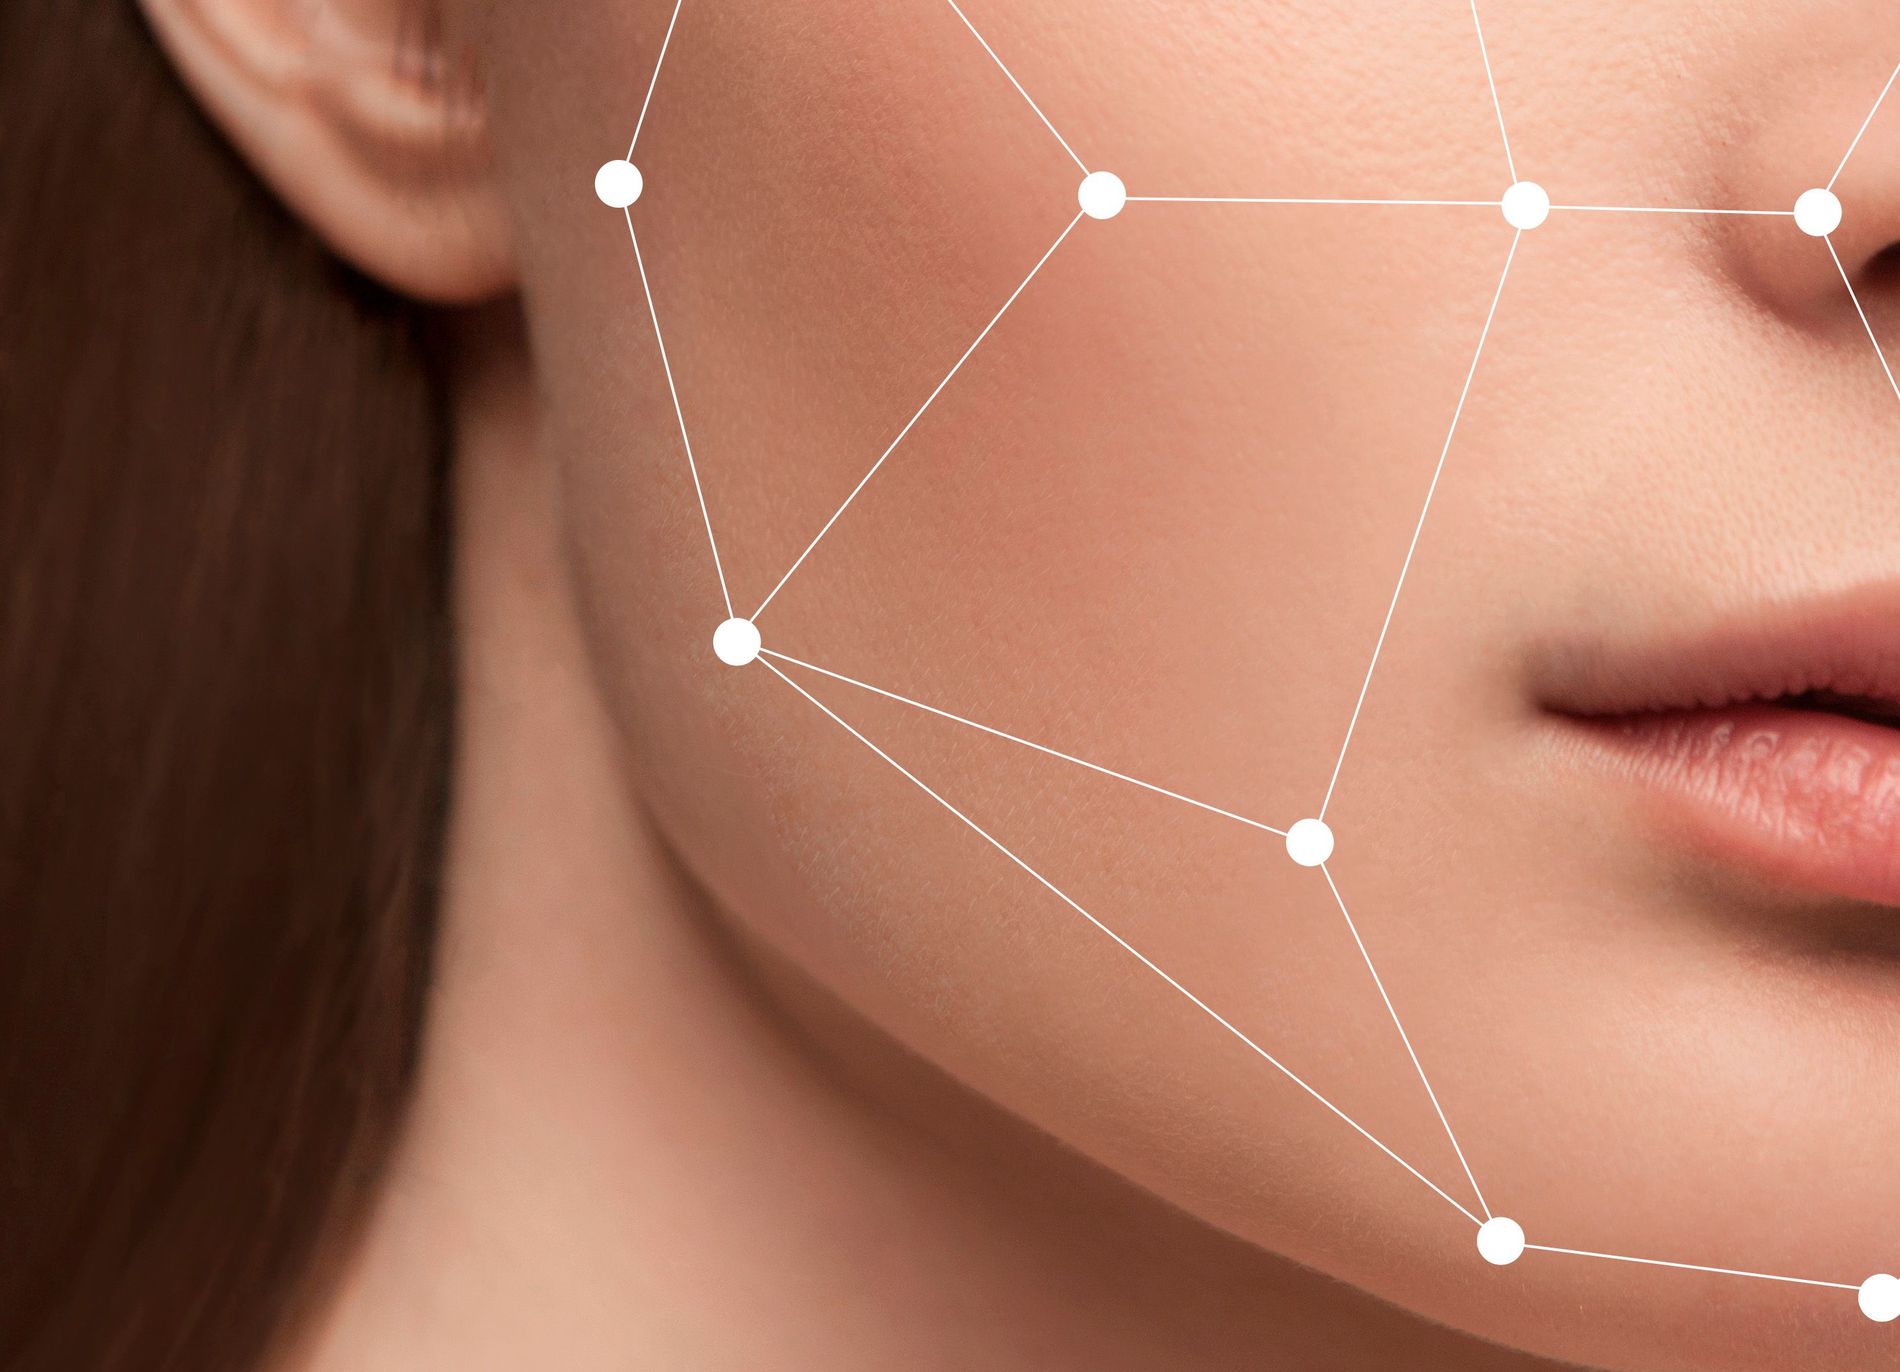
Photo: Getty
Likewise, you’ll benefit from an almost immediate release of tension. “Our facial muscles are in constant use,” says Halldén. “We use them to express our emotions; we hold tension in our muscles when we frown or clench our jaws. Face massage can improve tone, smooth out fine lines and make our stress levels drop.”
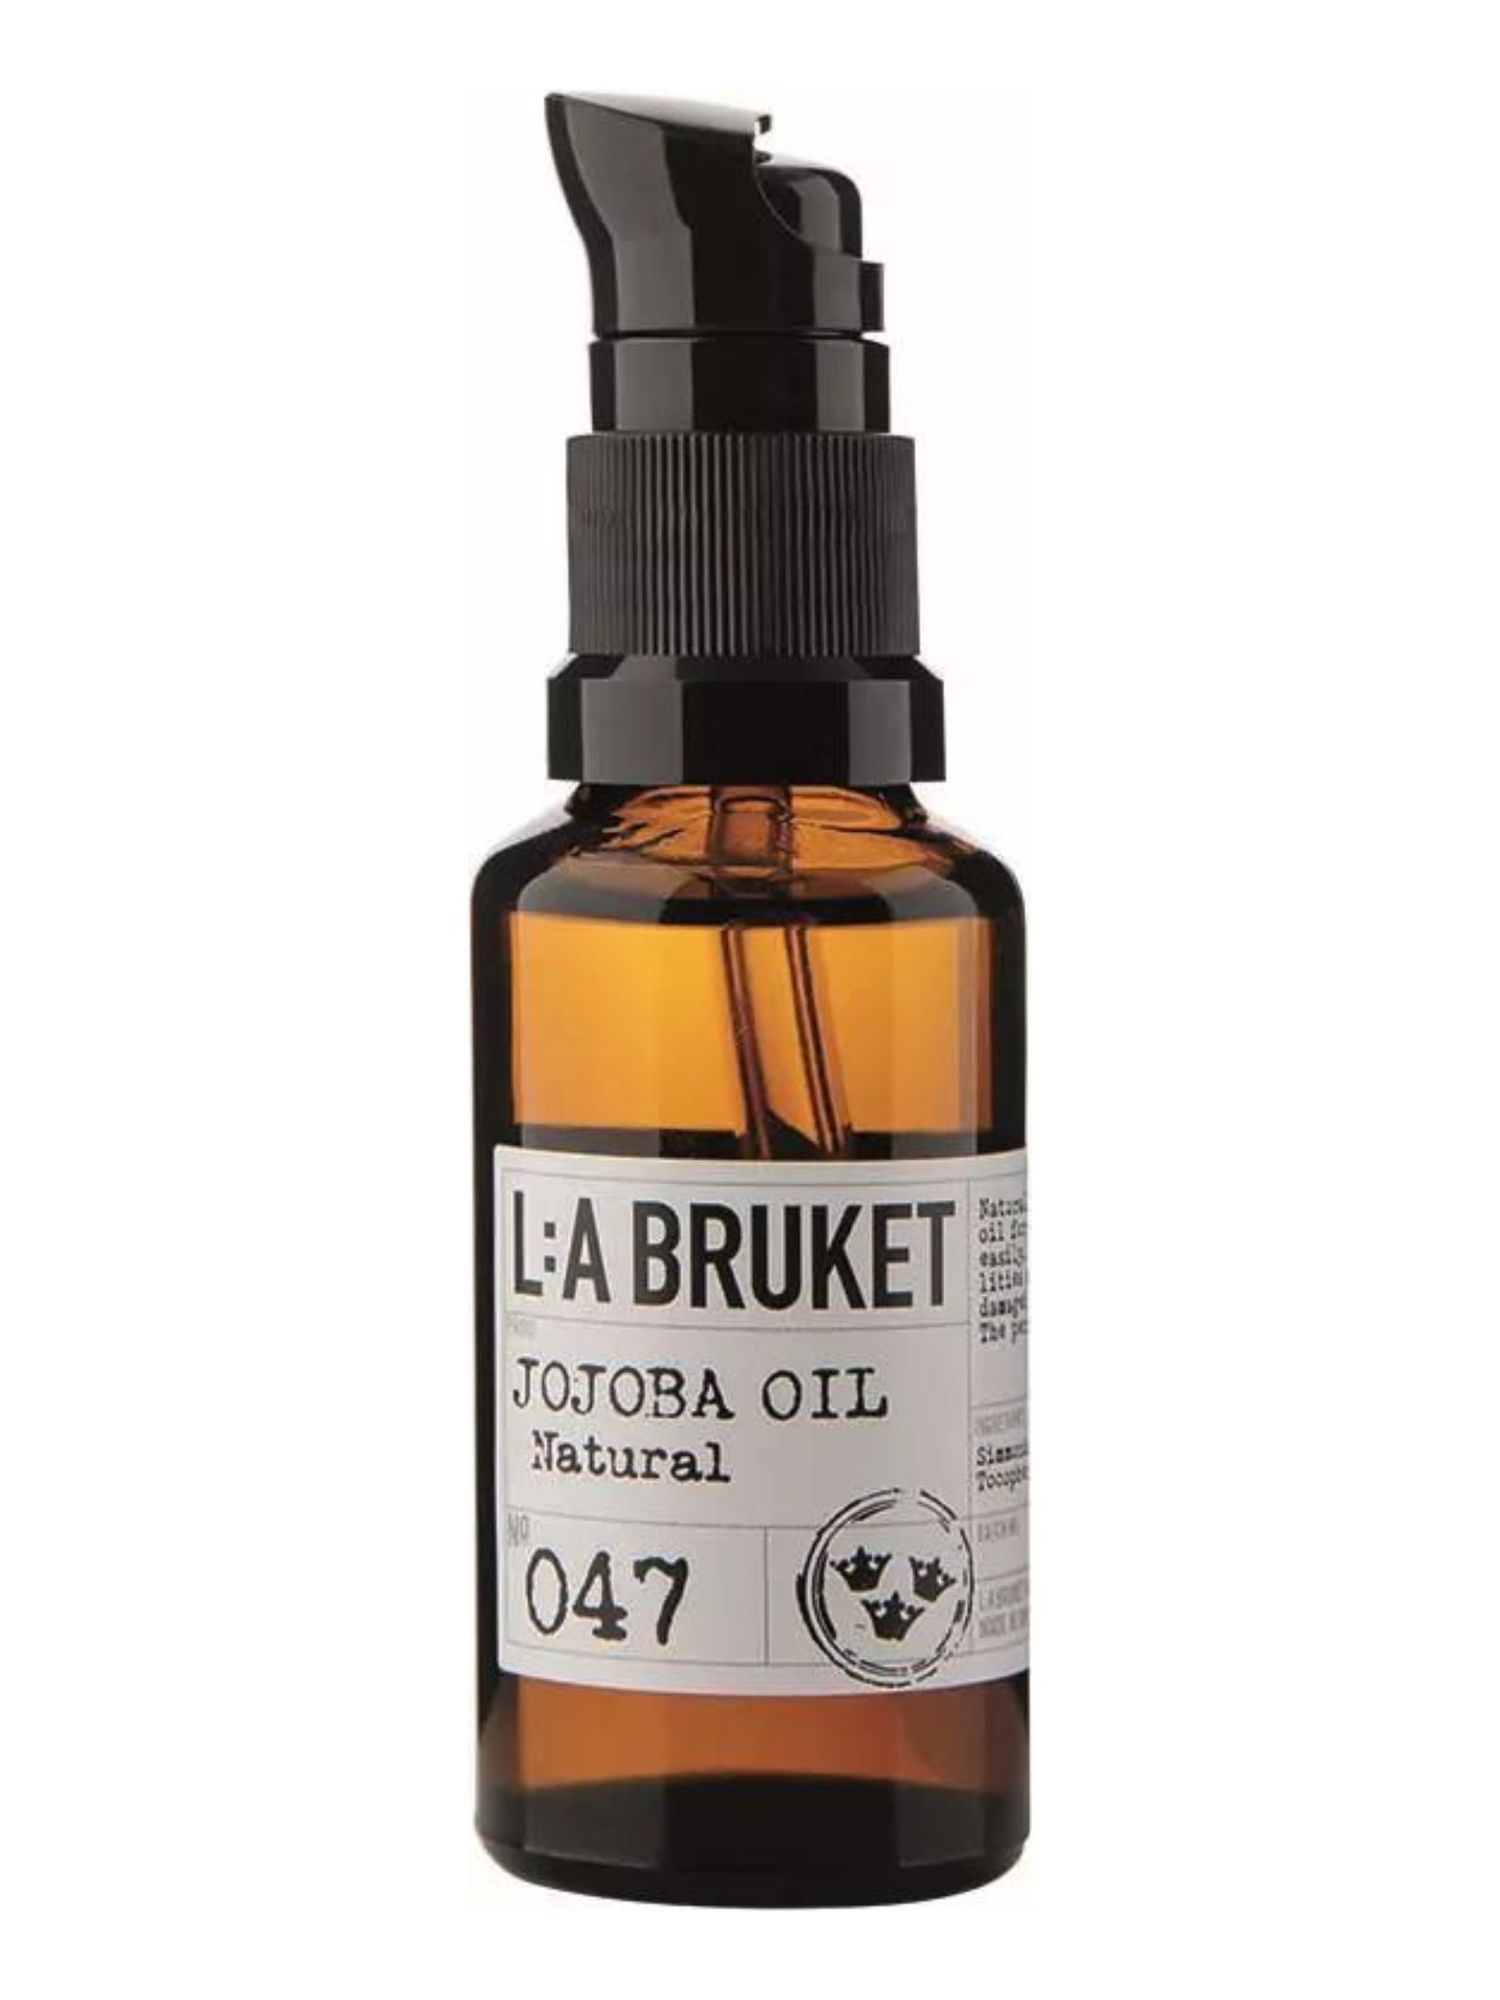
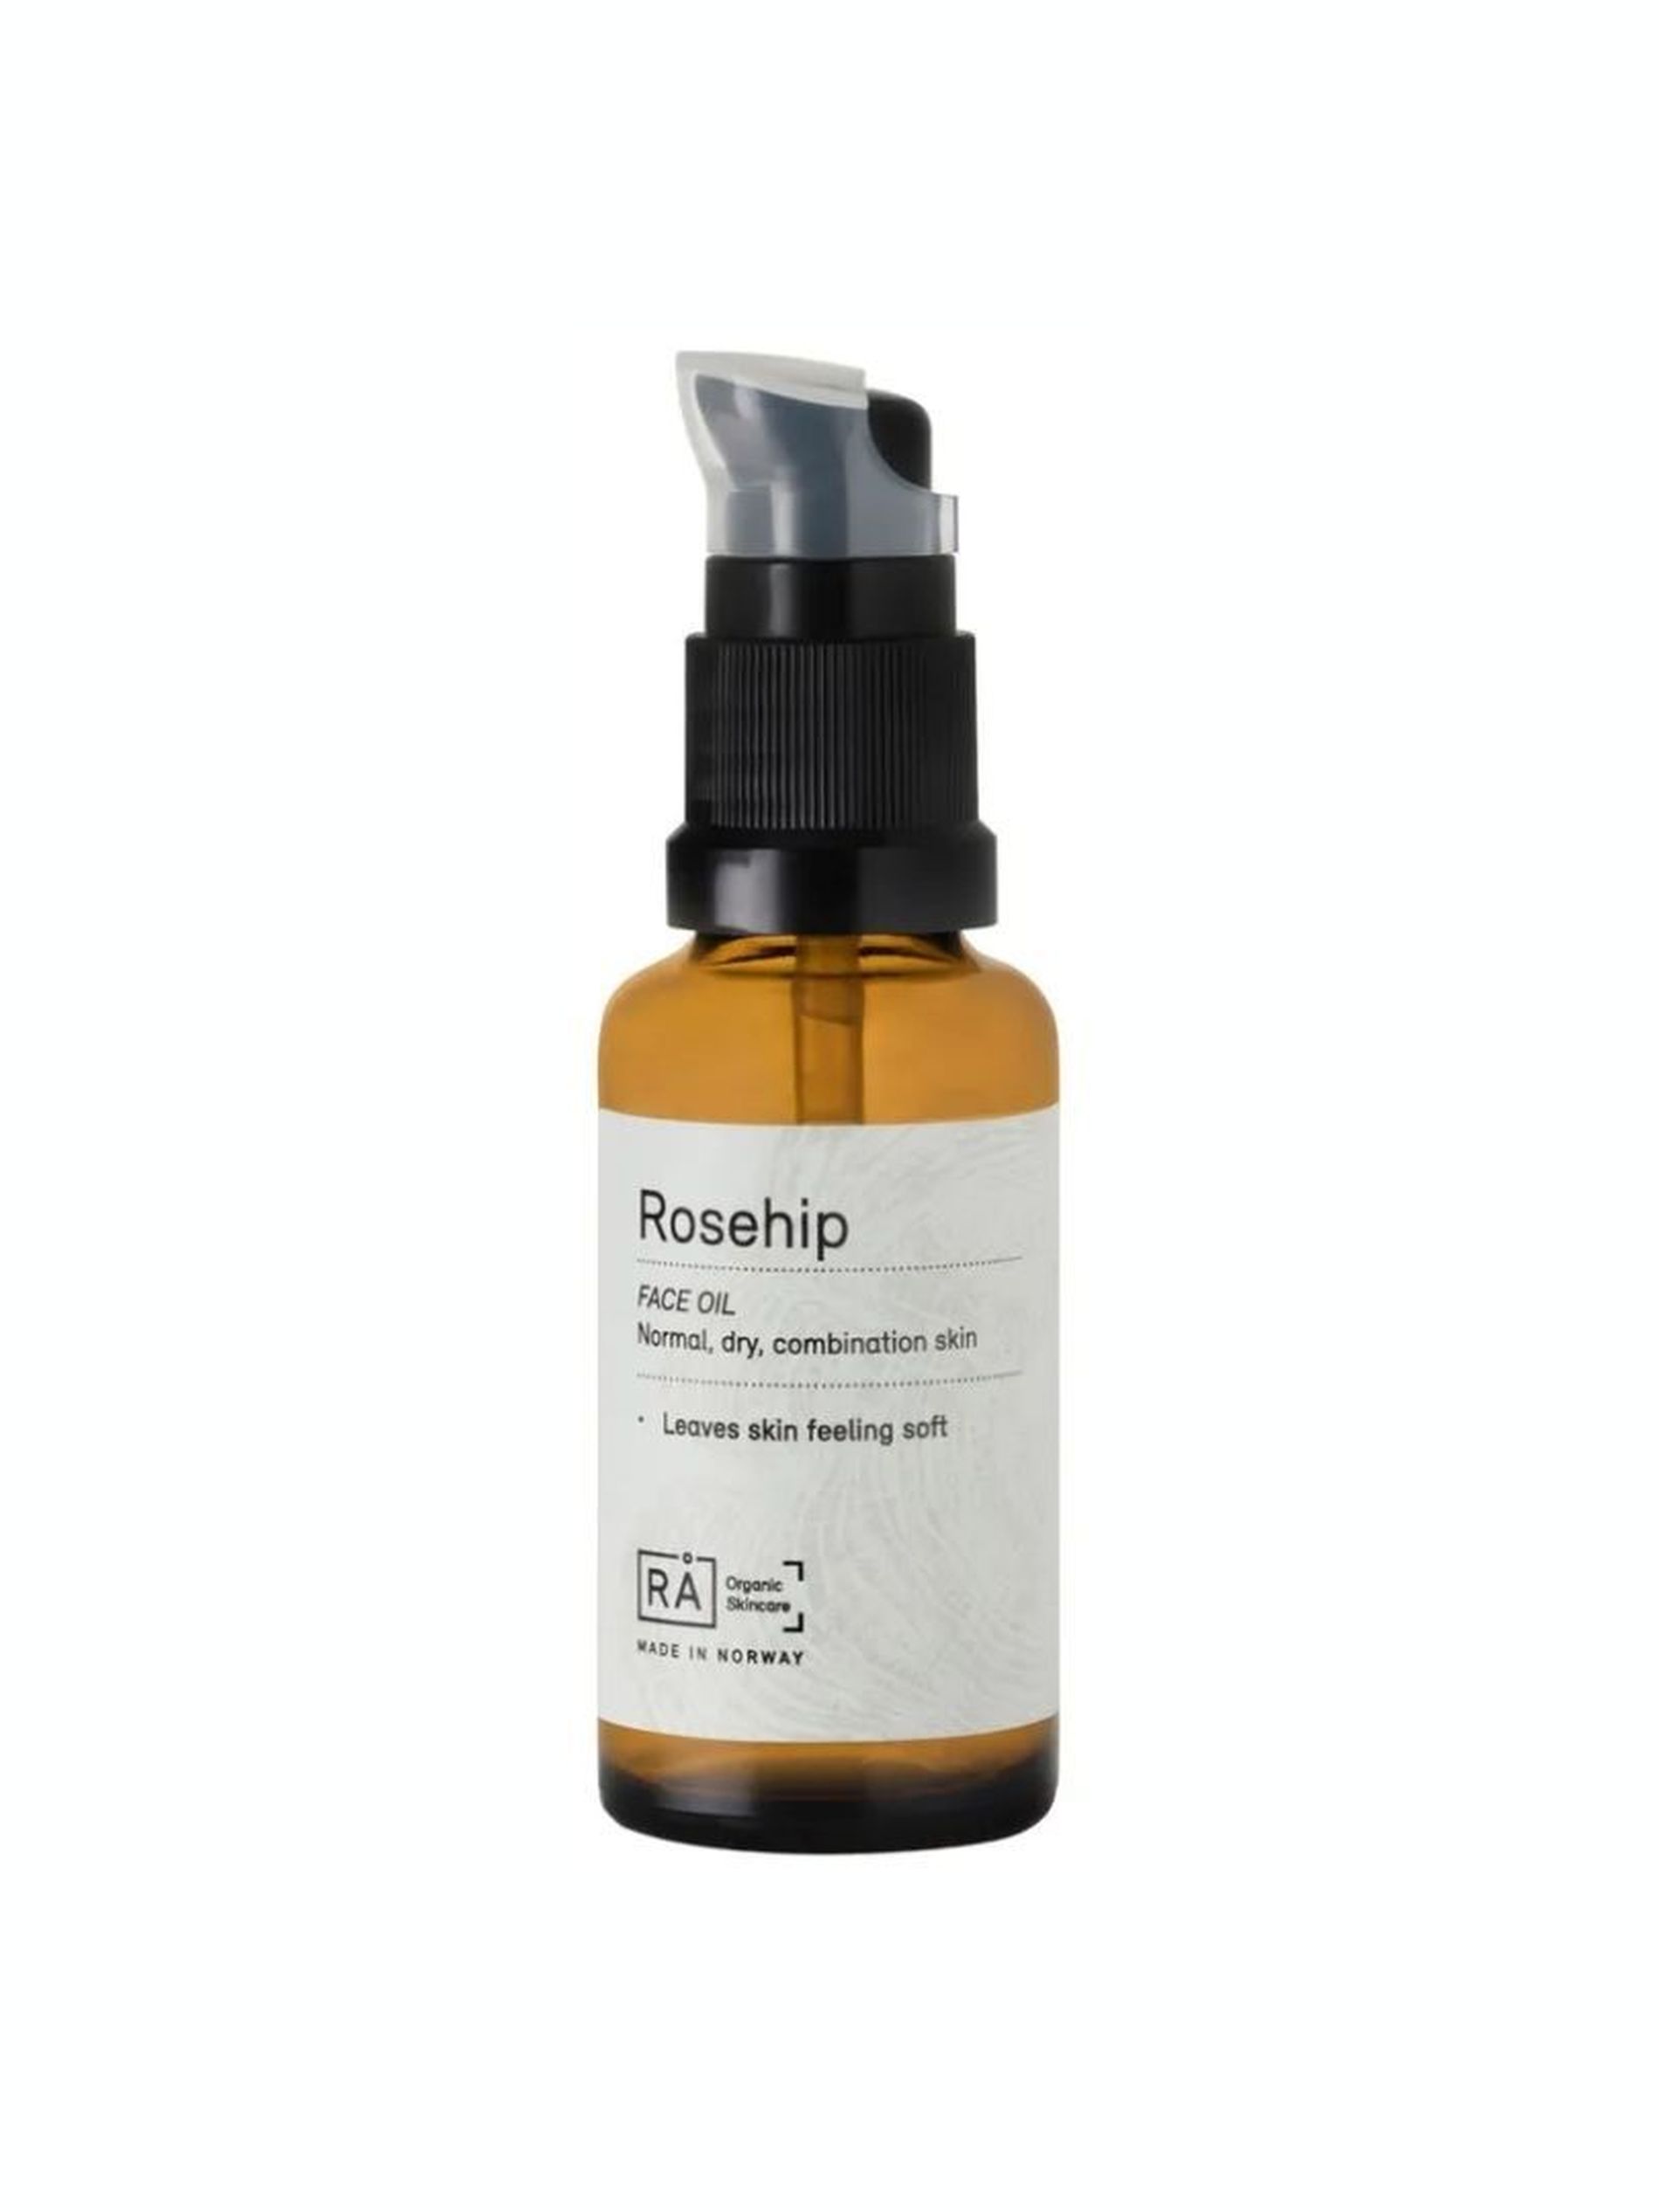
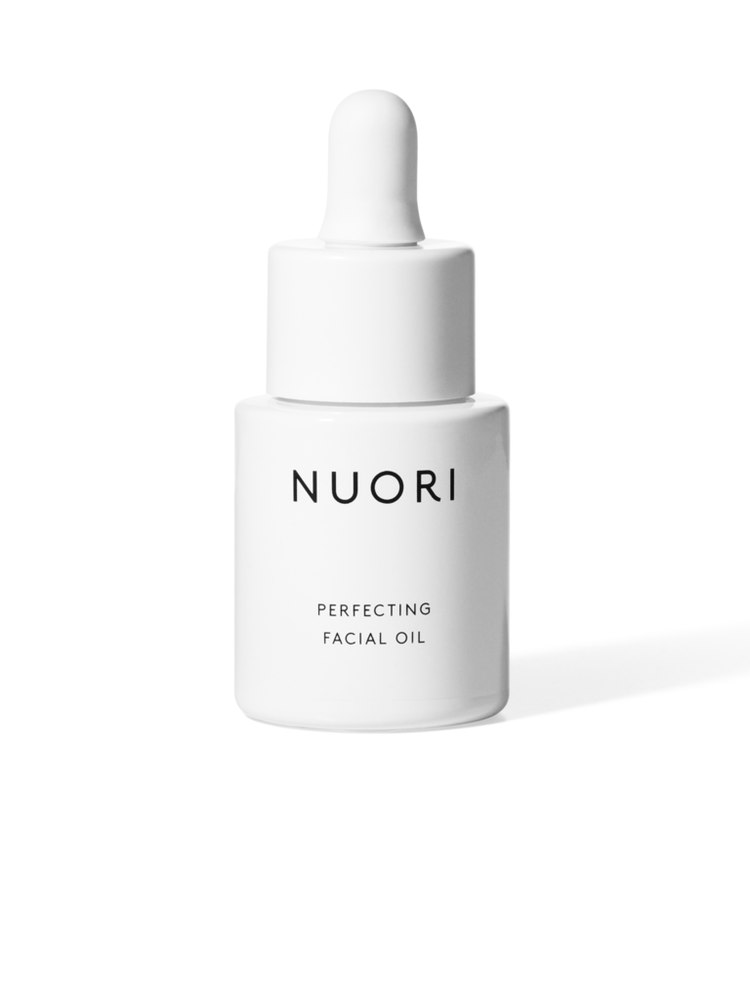
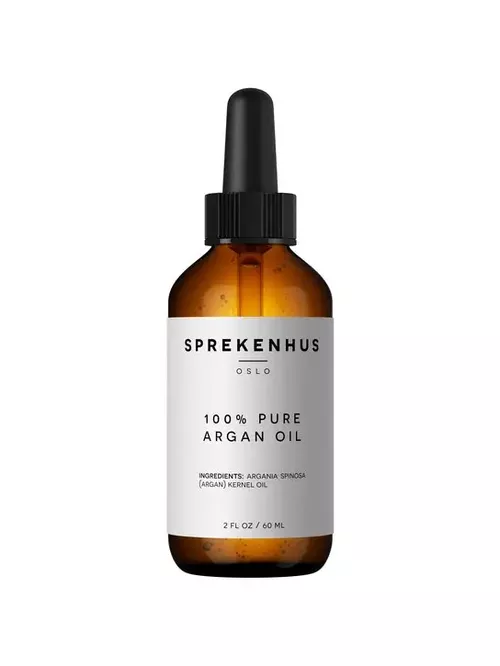
While nothing can ever replace the skilled hands of a facialist, there are a few simple moves you can master in the comfort of your bathroom. According to Halldén, the entire process can take up to ten minutes from beginning to end. She recommends massaging your face in the morning to kick start sluggish circulation or at night time as a calming ritual. And for the best results, you want a bit of ‘slip’ on the skin. “Take a face oil based on your skin type and warm it between your hands,” says Halldén. “Argan oil alleviates dryness; rose oil pumps moisture back into mature complexions while hemp seed oil is a good choice for both sensitive and oily skin.” Now prepare to, literally, roll back the years…
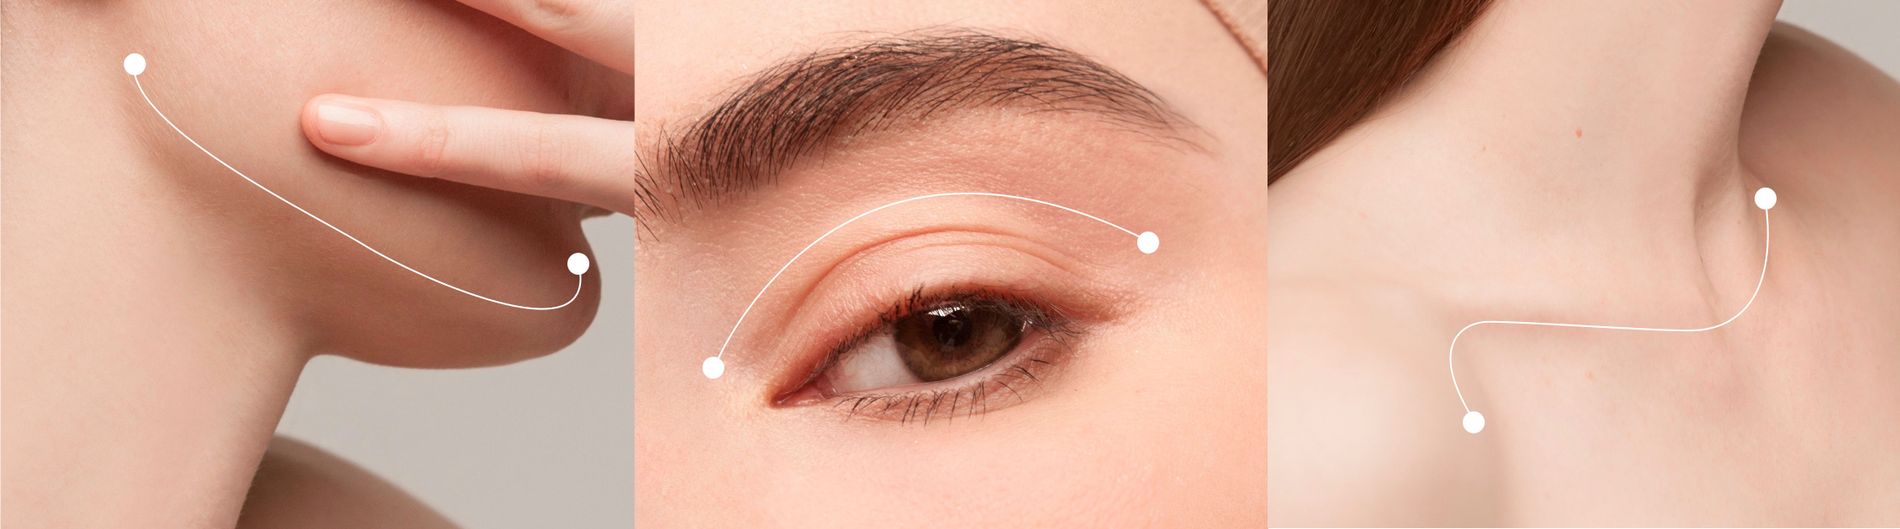
Photo: Getty
How to give yourself a DIY face massage:
Step 1: Massage your forehead
Start your massage by placing both hands on the centre of your forehead and glide out to the temples with slow, measured movements. Use light pressure, but enough to get a lifting effect, as this will help to release the frontalis muscle, which covers part of the forehead and skull. Then work your fingertips in a circular motion on your temples. Repeat three times.
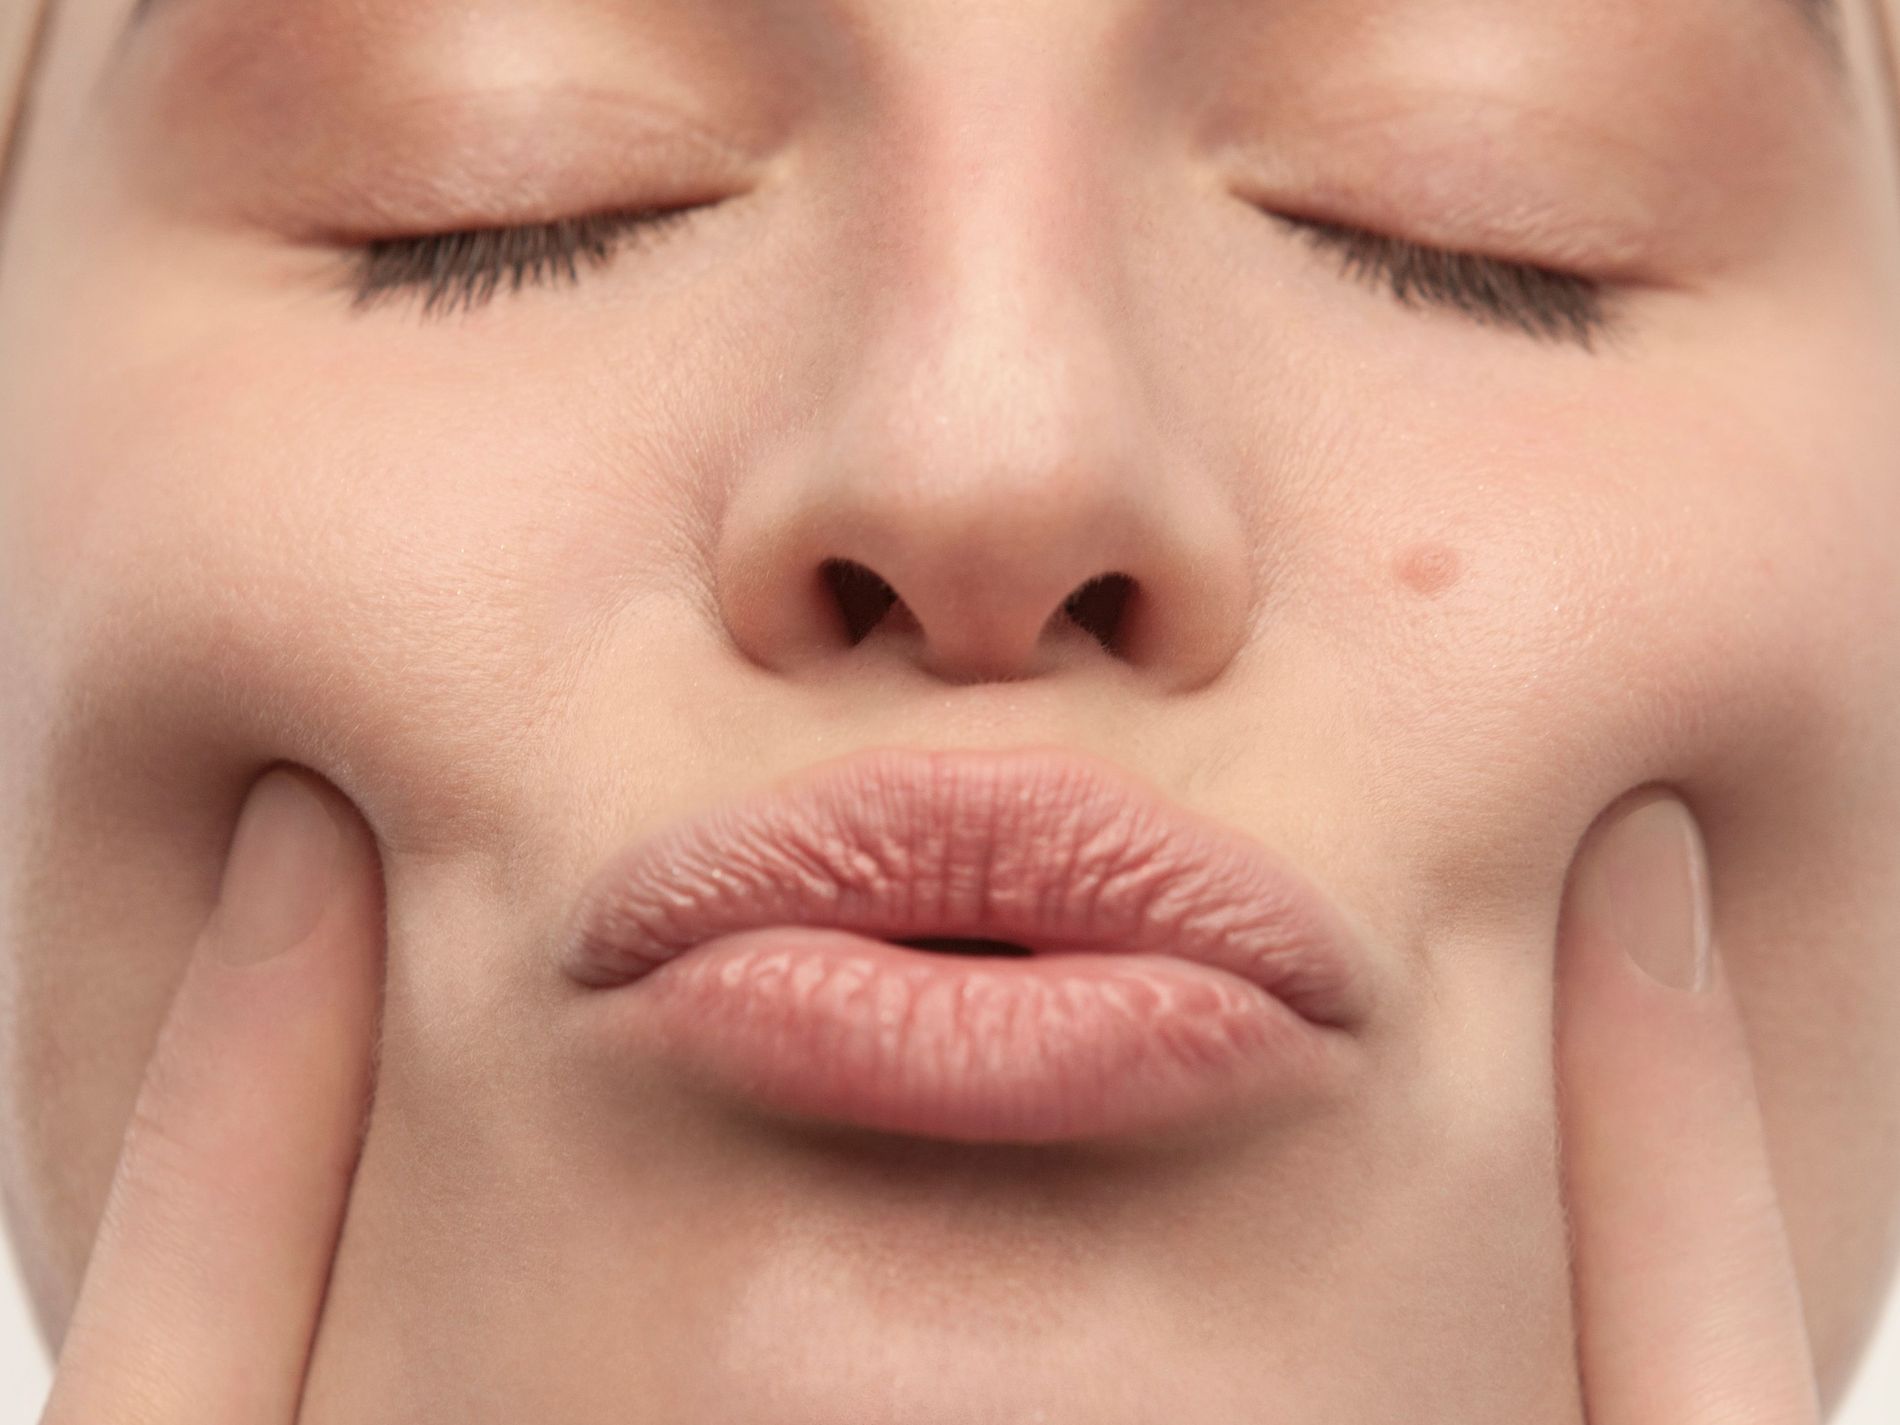
Step 2: Get cheeky
Place your hands at the base of your nose and sweep upwards and outwards, under the eyes and across the cheeks to the temples. Repeat three times.
Step 3: Work the side of your mouth
Place your hands at the side of your mouth and again sweep upwards and outwards towards the temples. Repeat three times.
Step 4: Chin up
From the chin, slide your hands on either side of your face so that your index and middle fingers scissor the ears. Work upwards toward the temples. Repeat three times.
Step 5: Shift that lymph
Sweep from behind your ears down the sides of your neck to the collarbones. This helps lymph fluid, which contains toxins and waste, to drain from the body.
Step 6: Lift the brow
Focus on the area between your eyelid and brow. Pinch both eyebrows between your thumbs and index fingers. Use a ‘press and release’ motion, pinching at the front, then along your eyebrow to the tail.
Step 7: Reduce puffiness around the eyes
Press and release on the orbital bone above the eyes, using your thumbs and normal pressure. Do the same underneath the eyes with your index finger. This pushes the blood away, then encourages it to rush back, improving the look of dark circles and plumping out wrinkles around the eye.
Step 8: Relieve a tight jaw
Finish with circular movements along the jaw area to release tension, reduce puffiness and improve the contour of the lower face.
Don't miss a minute, sign up to the Vogue Scandinavia newsletter here.