Rawdah Mohamed shows us how to create a look worthy of any fashion event
In collaboration with Armani Beauty.
All products featured on Vogue are independently selected by our editors. However, when you buy something through our retail links, we may earn an affiliate commission.
As with all great things in life, makeup needs to have a good foundation in order to be flawless. Rawdah Mohamed shows us how to achieve the perfect look by combining some of her favourite products.
Here we break down each step when it comes to her go-to makeup look:
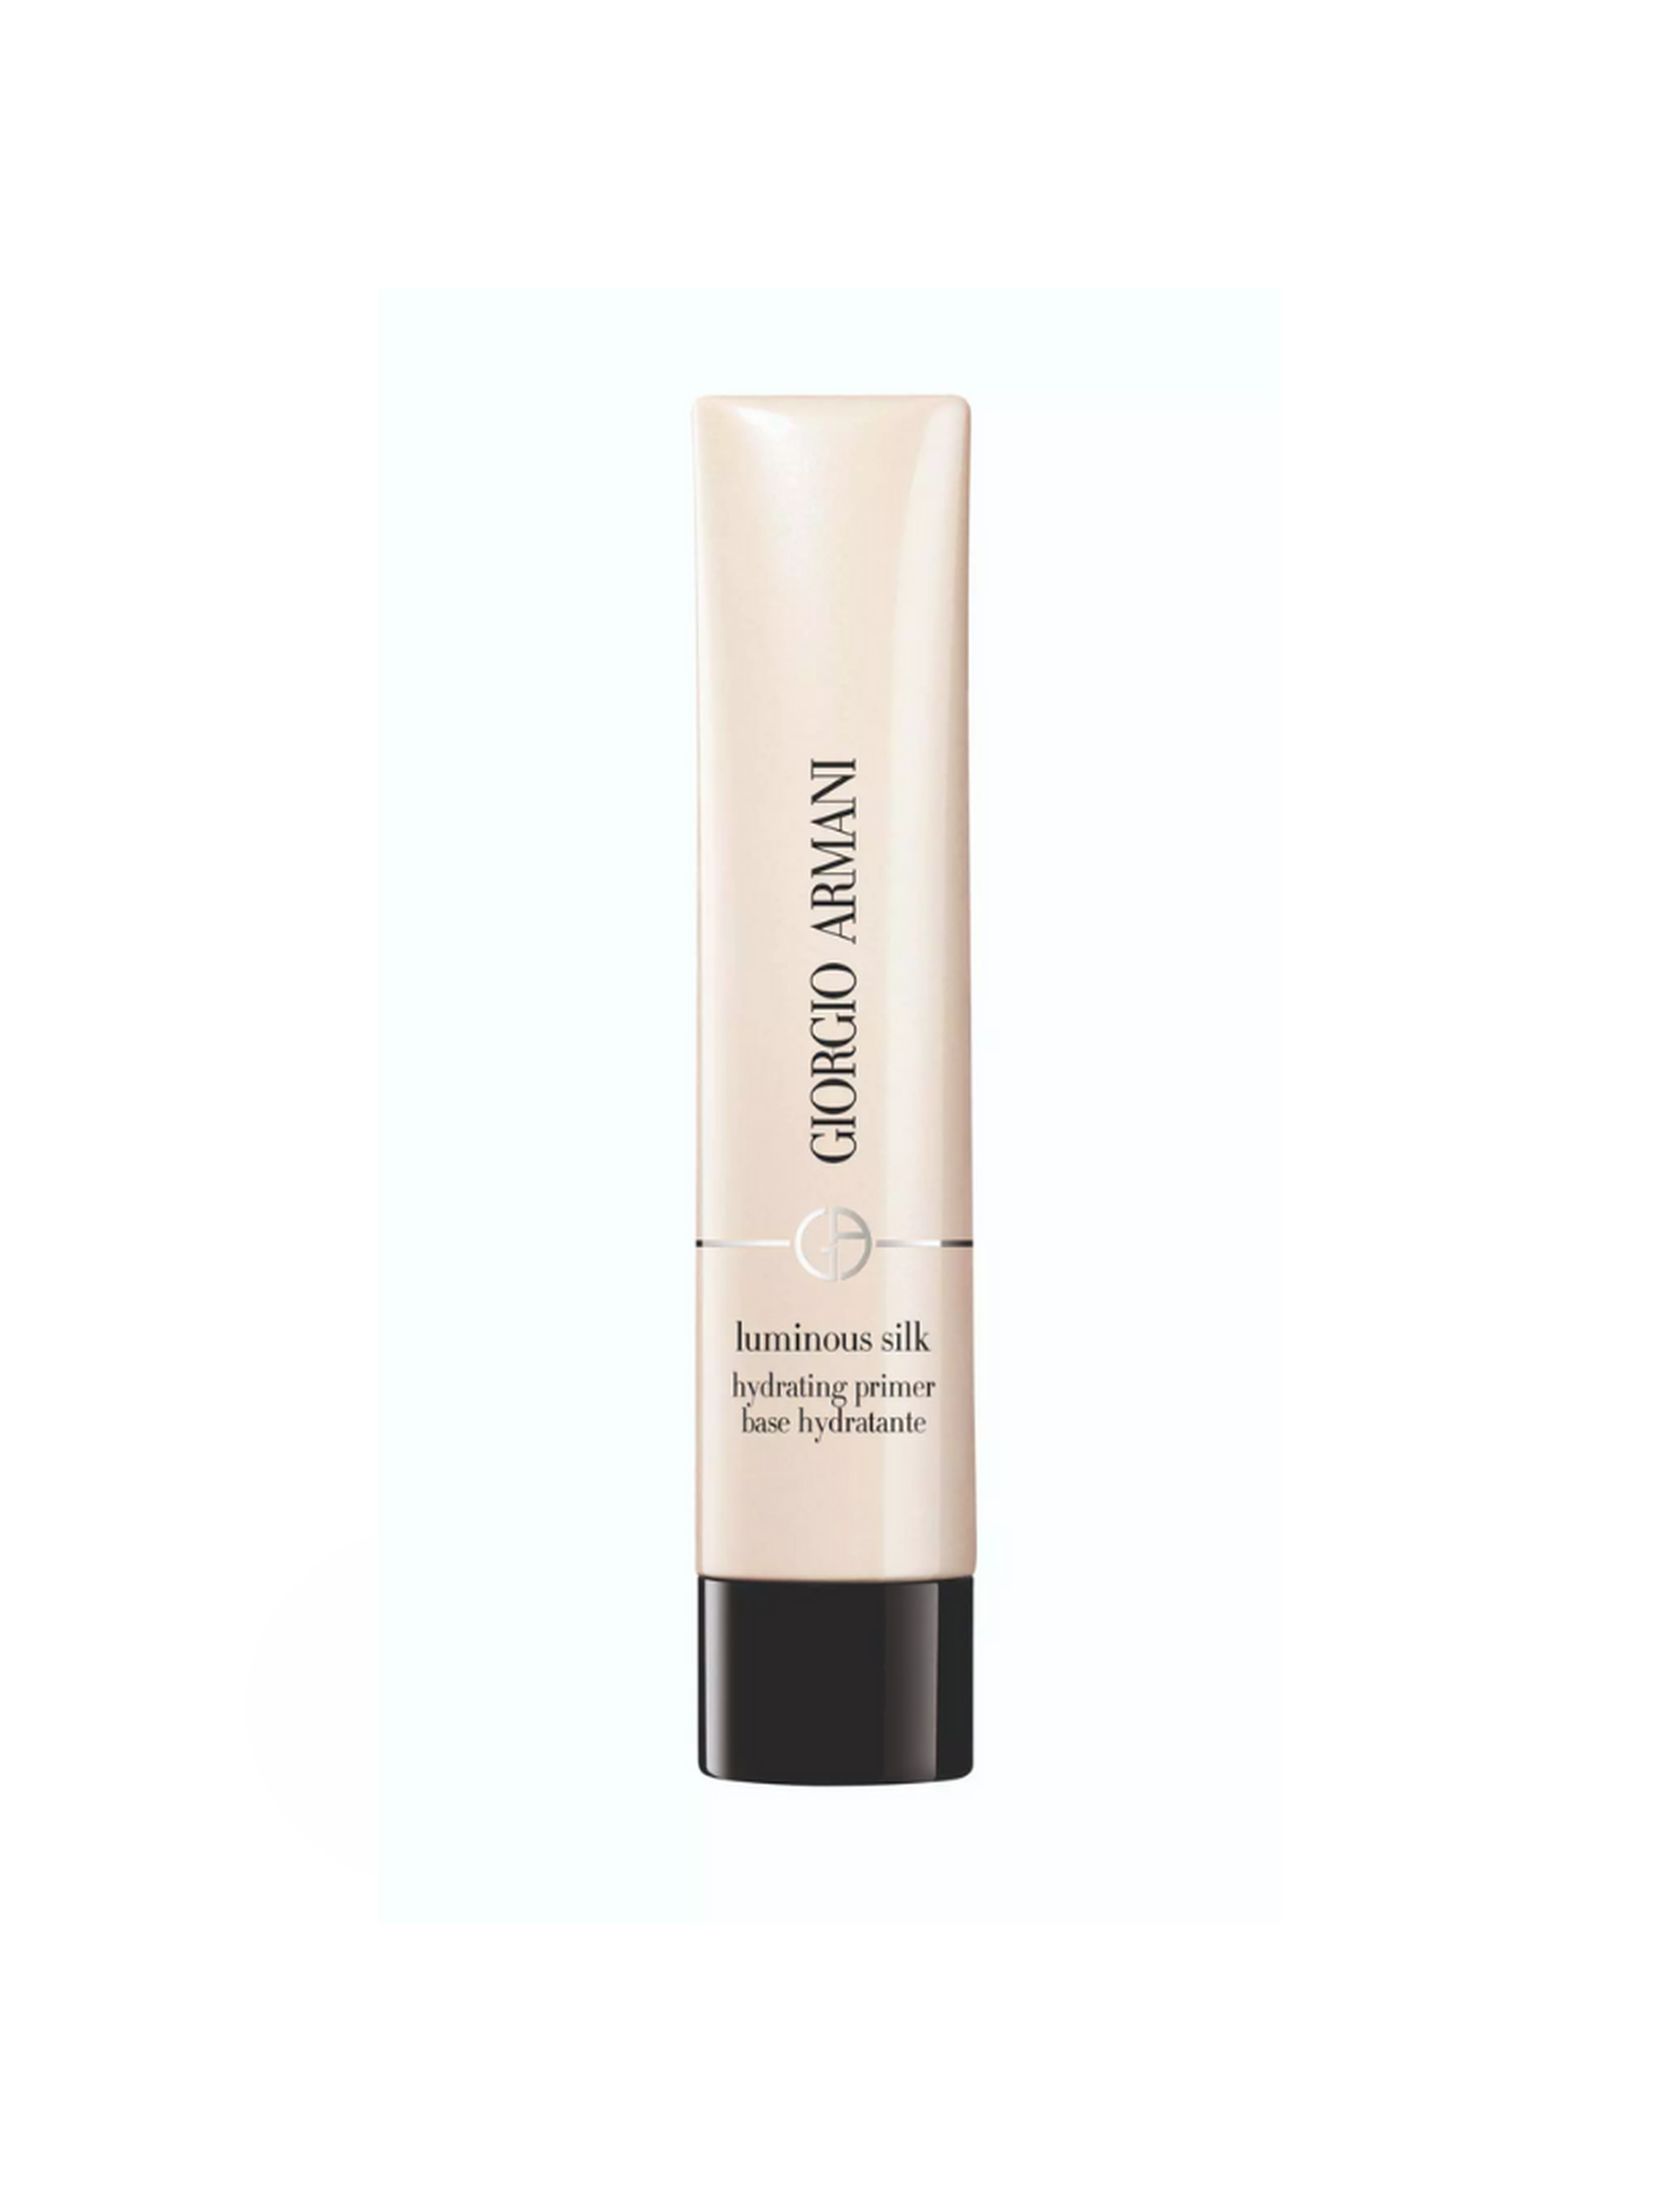
Step 1: Prepare the canvas
In order to achieve a seamless foundation, prepare the area where you will be placing products on. In this step moisturising and smoothing out the skin is key, and that’s where Armani’s Luminous Silk Hydrating Primer comes in. Allowing both the skin to regain hydration and working as a grip for future products, this sets the structure for the application of concealer and foundation.
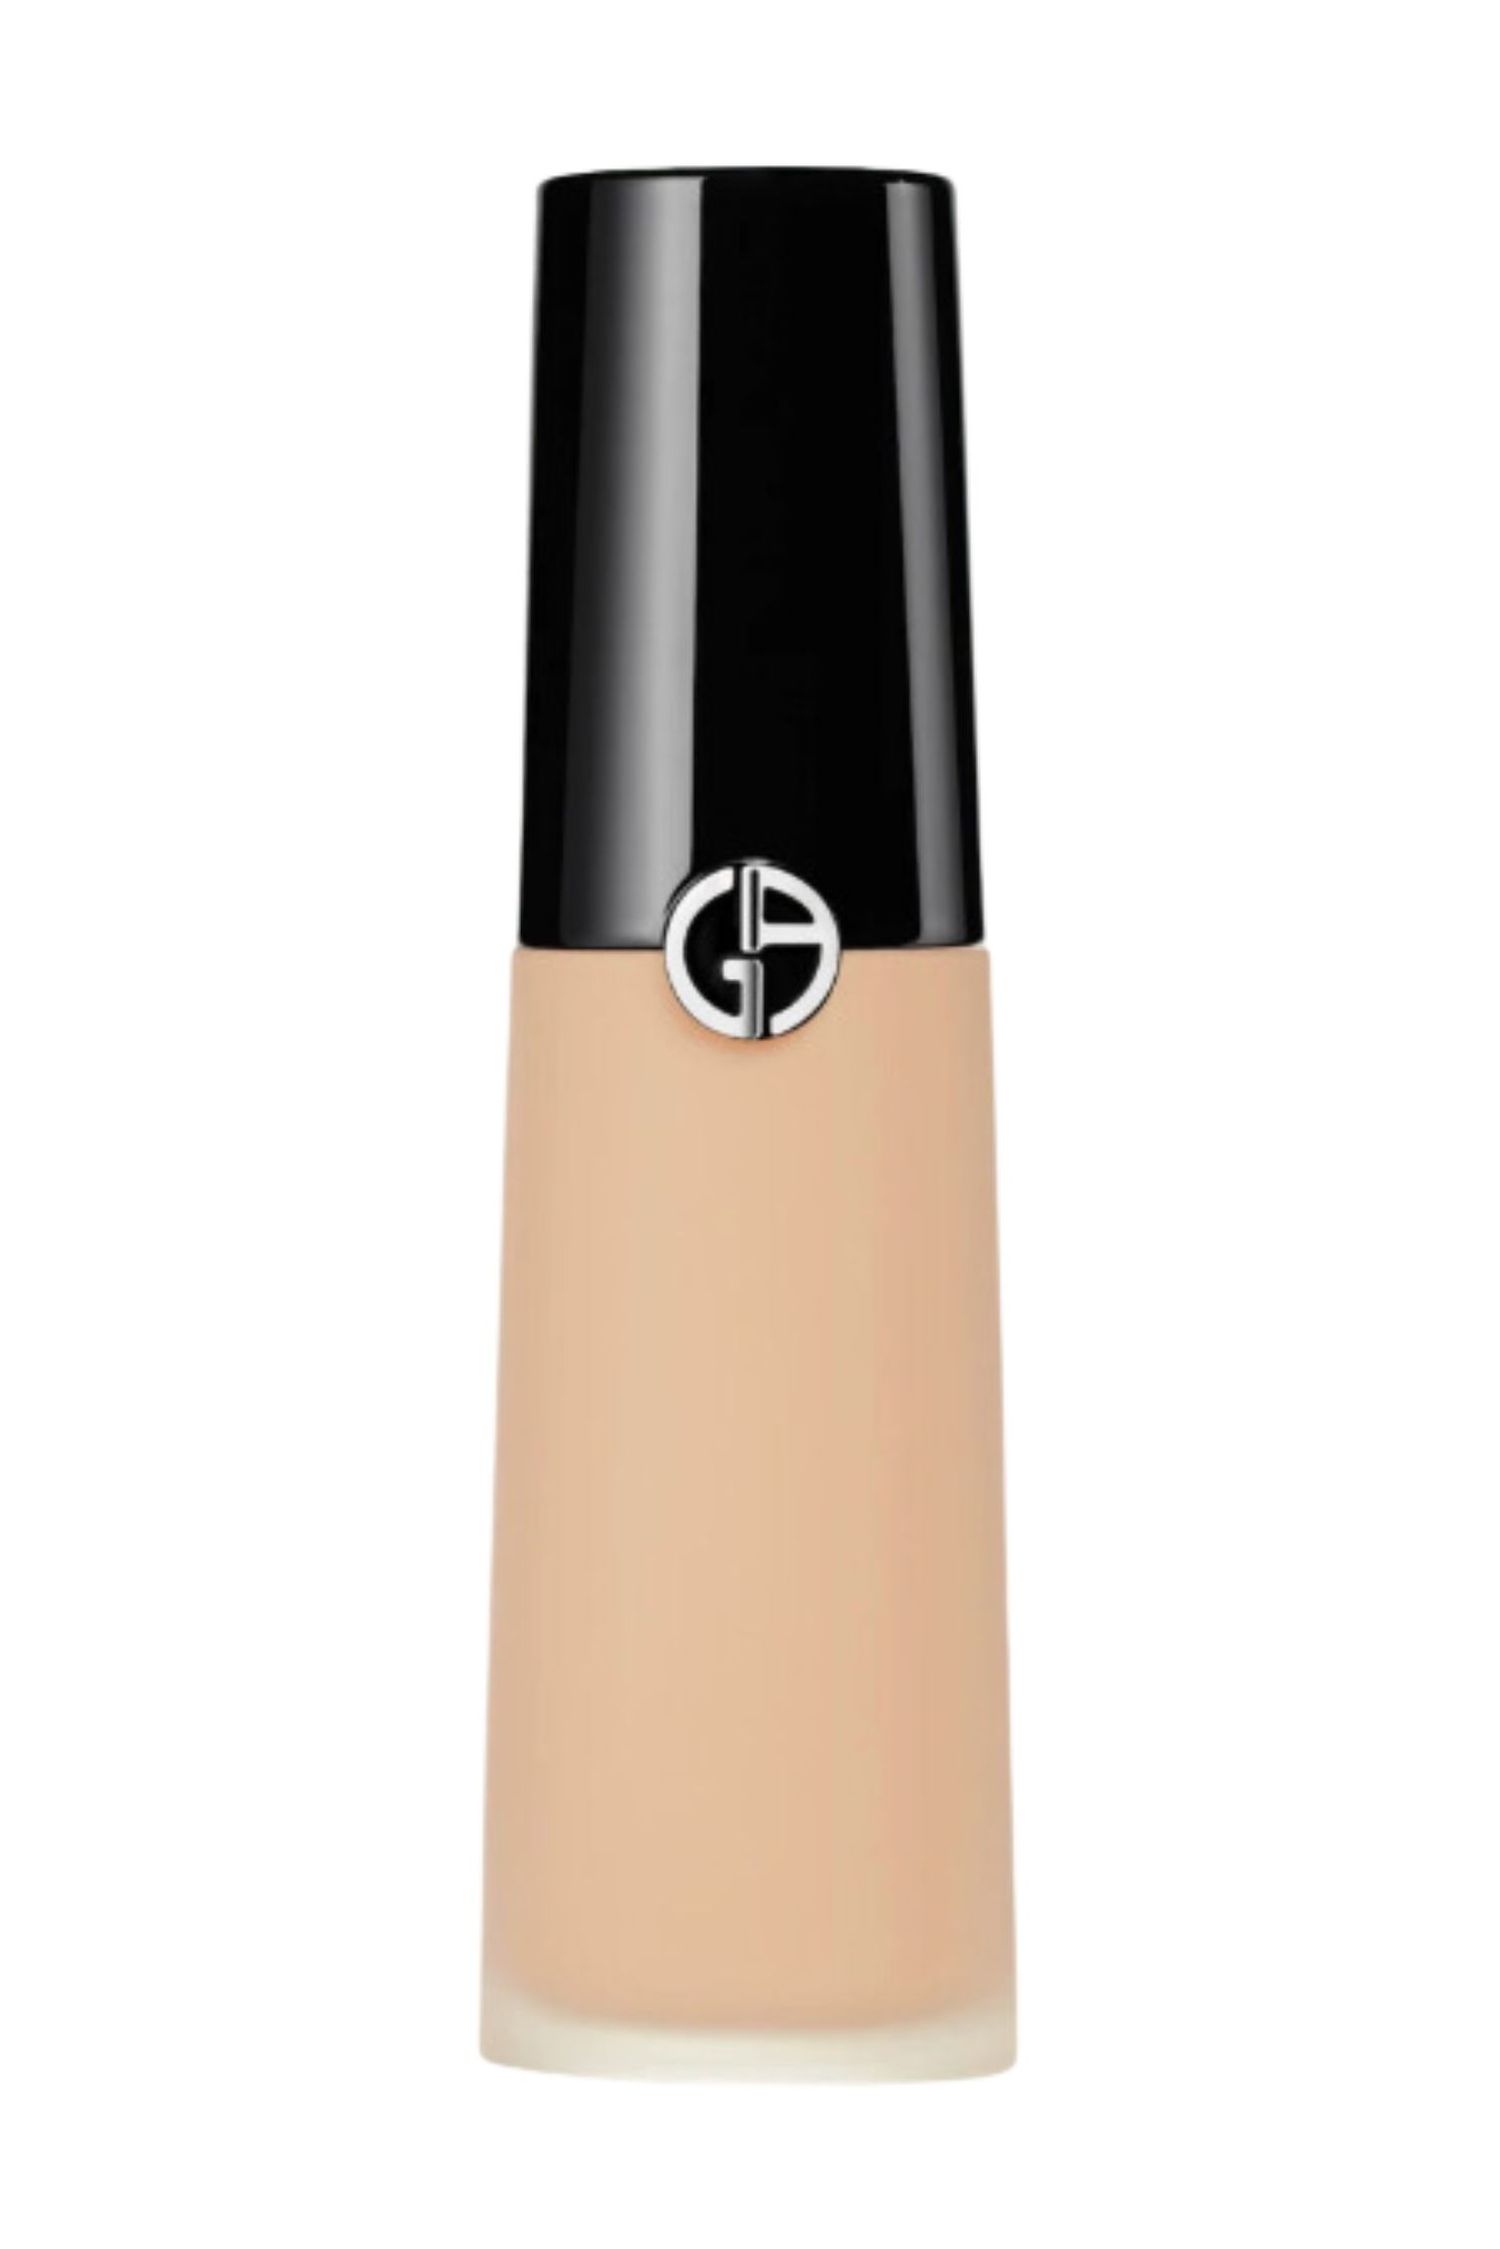
Step 2: Conceal any dark spot or blemish
After priming, go in with the Luminous Silk Concealer in order to eliminate any blemish or dark spot one might have. Contrary to popular belief, where you first apply foundation and then conceal, we rather go the other way around as this allows us to fix up any mistake we might have with the concealer when applying the foundation on top of it. Besides, with the smooth finish of the concealer, we’re able to blend it in during the next step.
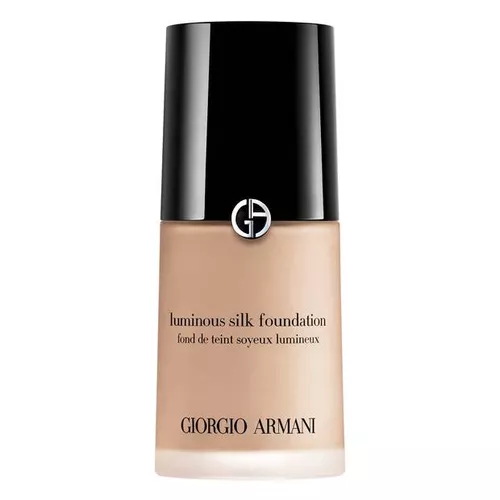
Step 3: Apply the foundation
This is the most important step of getting the perfect foundation, quite literally. The Luminous Silk Foundation is both buildable and at the same time natural looking, allowing it to cover and tint the skin but at the same time keep its texture and most importantly, glow. Thanks to it’s silk-light composition it doesn’t feel heavy on the skin.
I don’t believe in rules when it comes to makeup.
Rawdah Mohamed
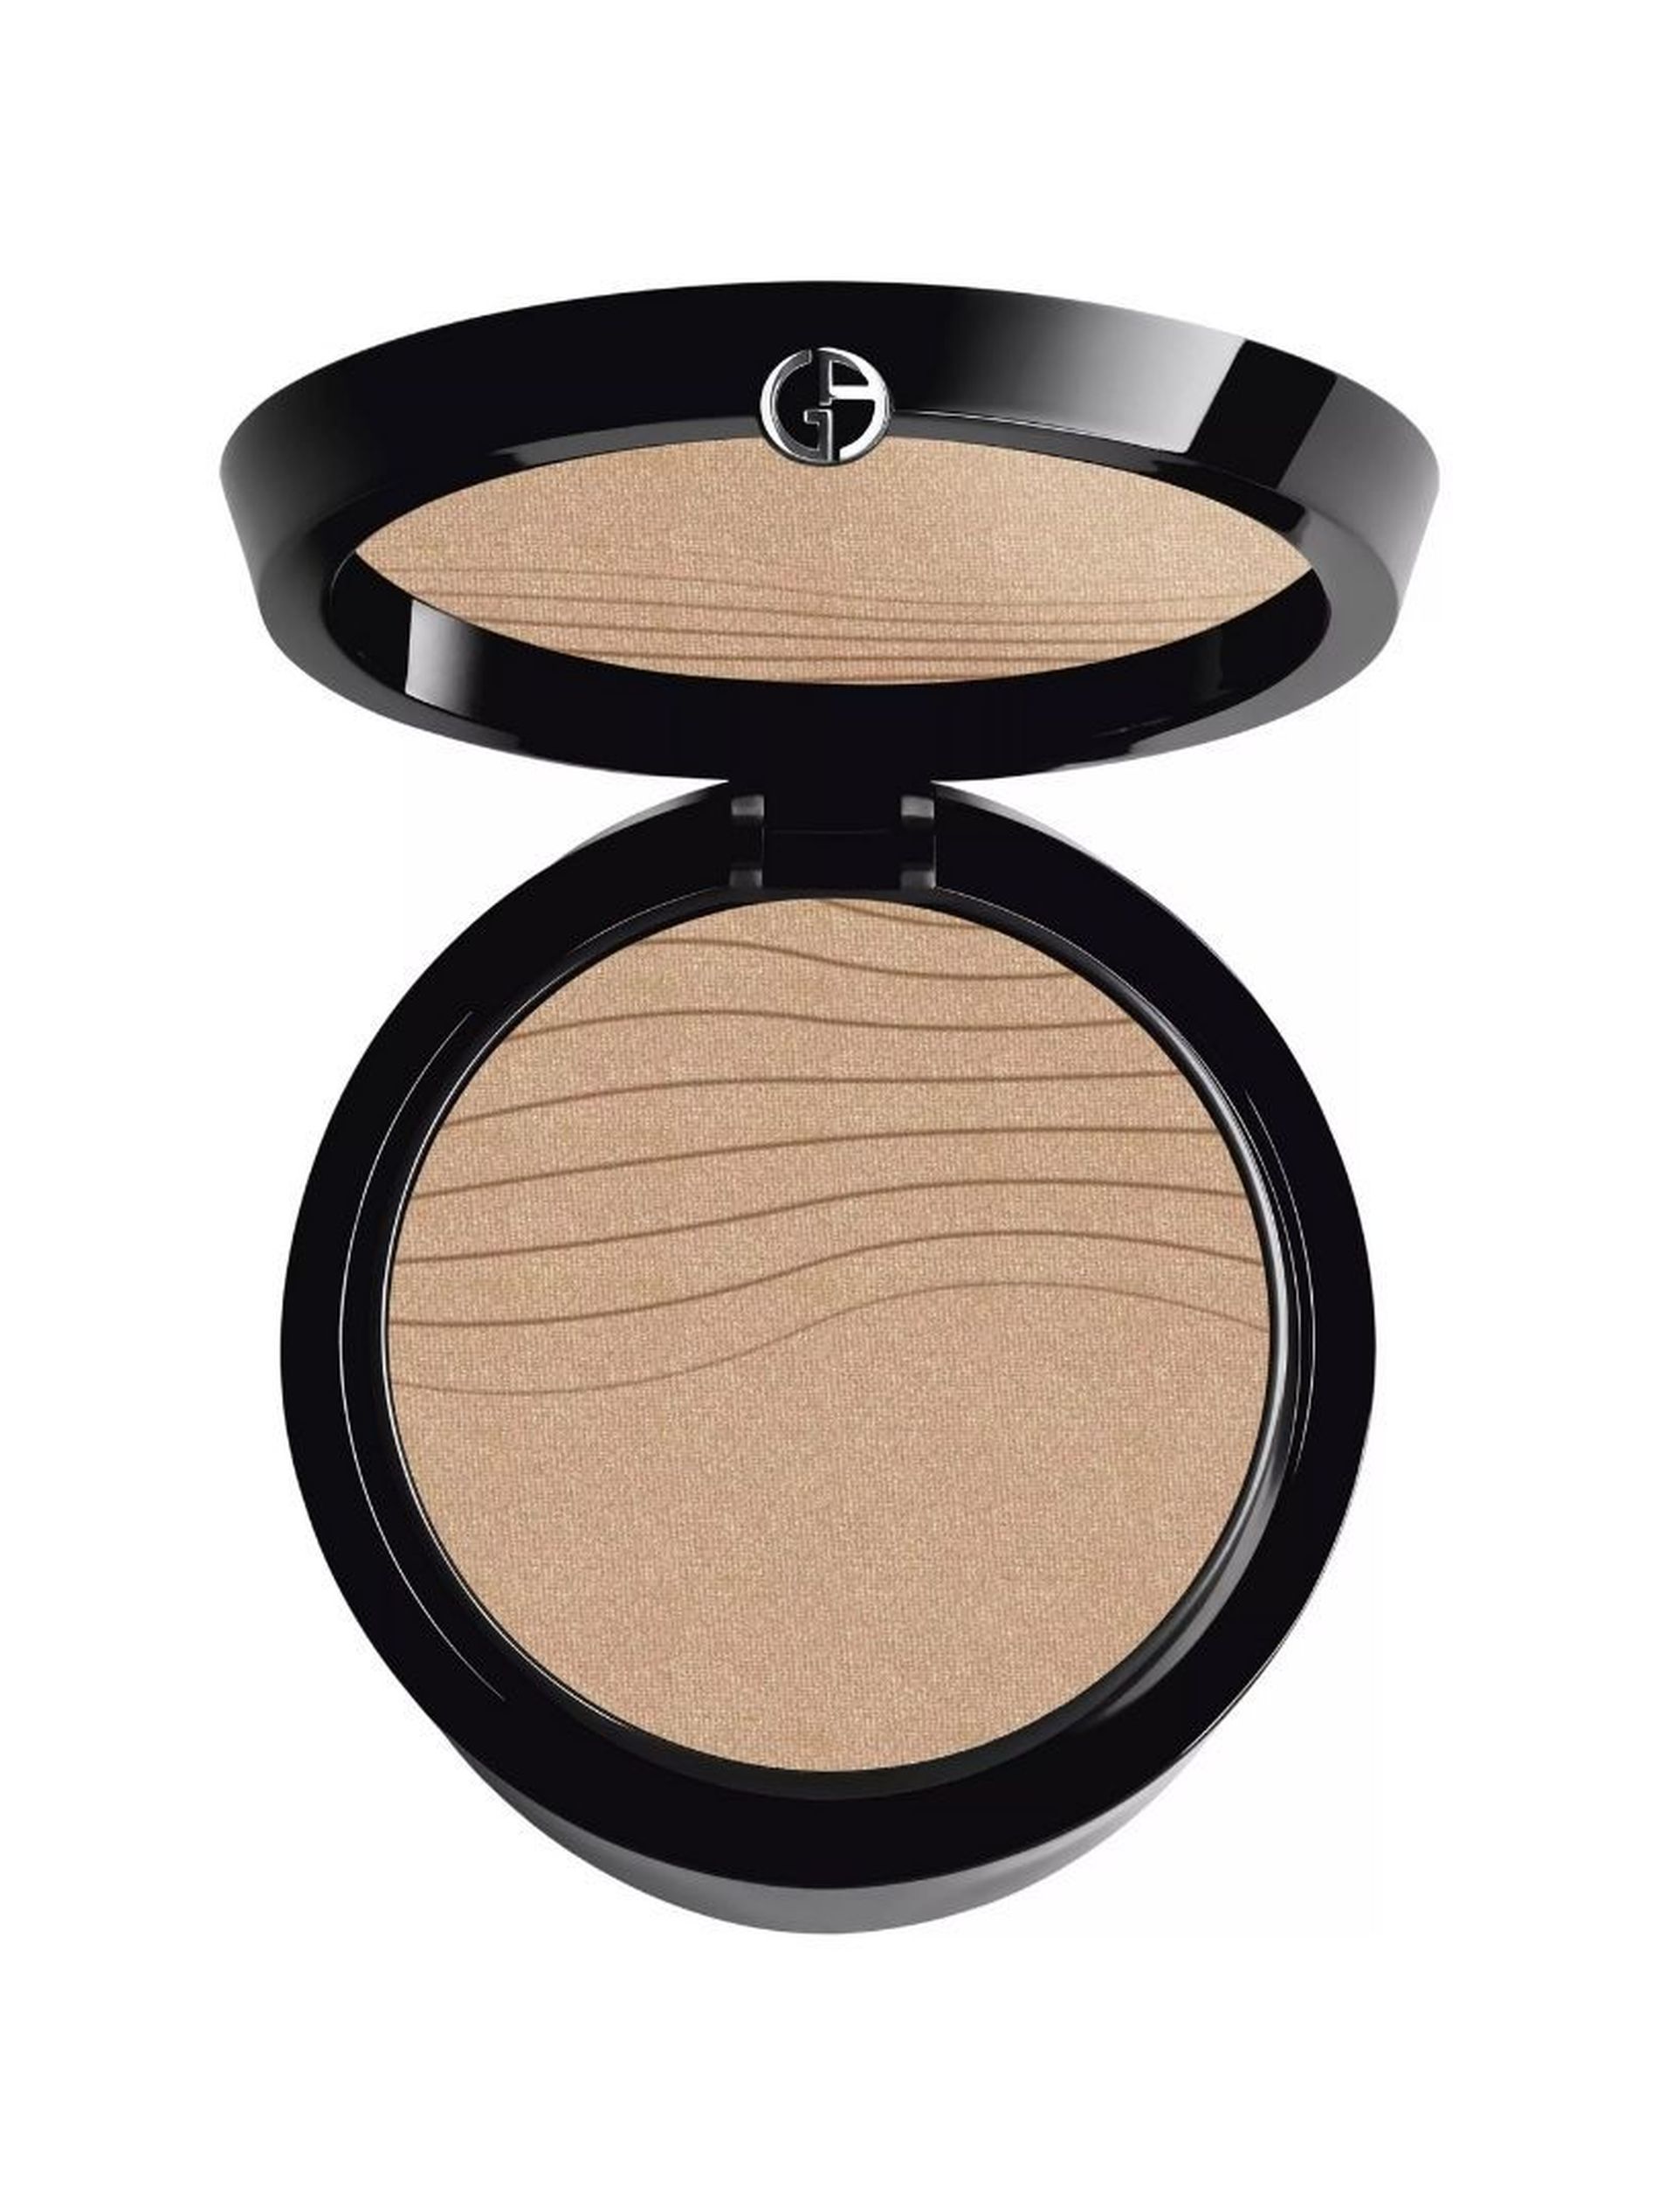
Step 4: Sculpt and conceal
For the fourth step we take the Luminous Silk Glow Setting Powder, that not only sets but also gives a barely-there perceptive but there's definitely glow, and use it both to sculpt the face, by brushing it onto the cheekbones and temple, and set areas where we might be prone to oiliness or shine.
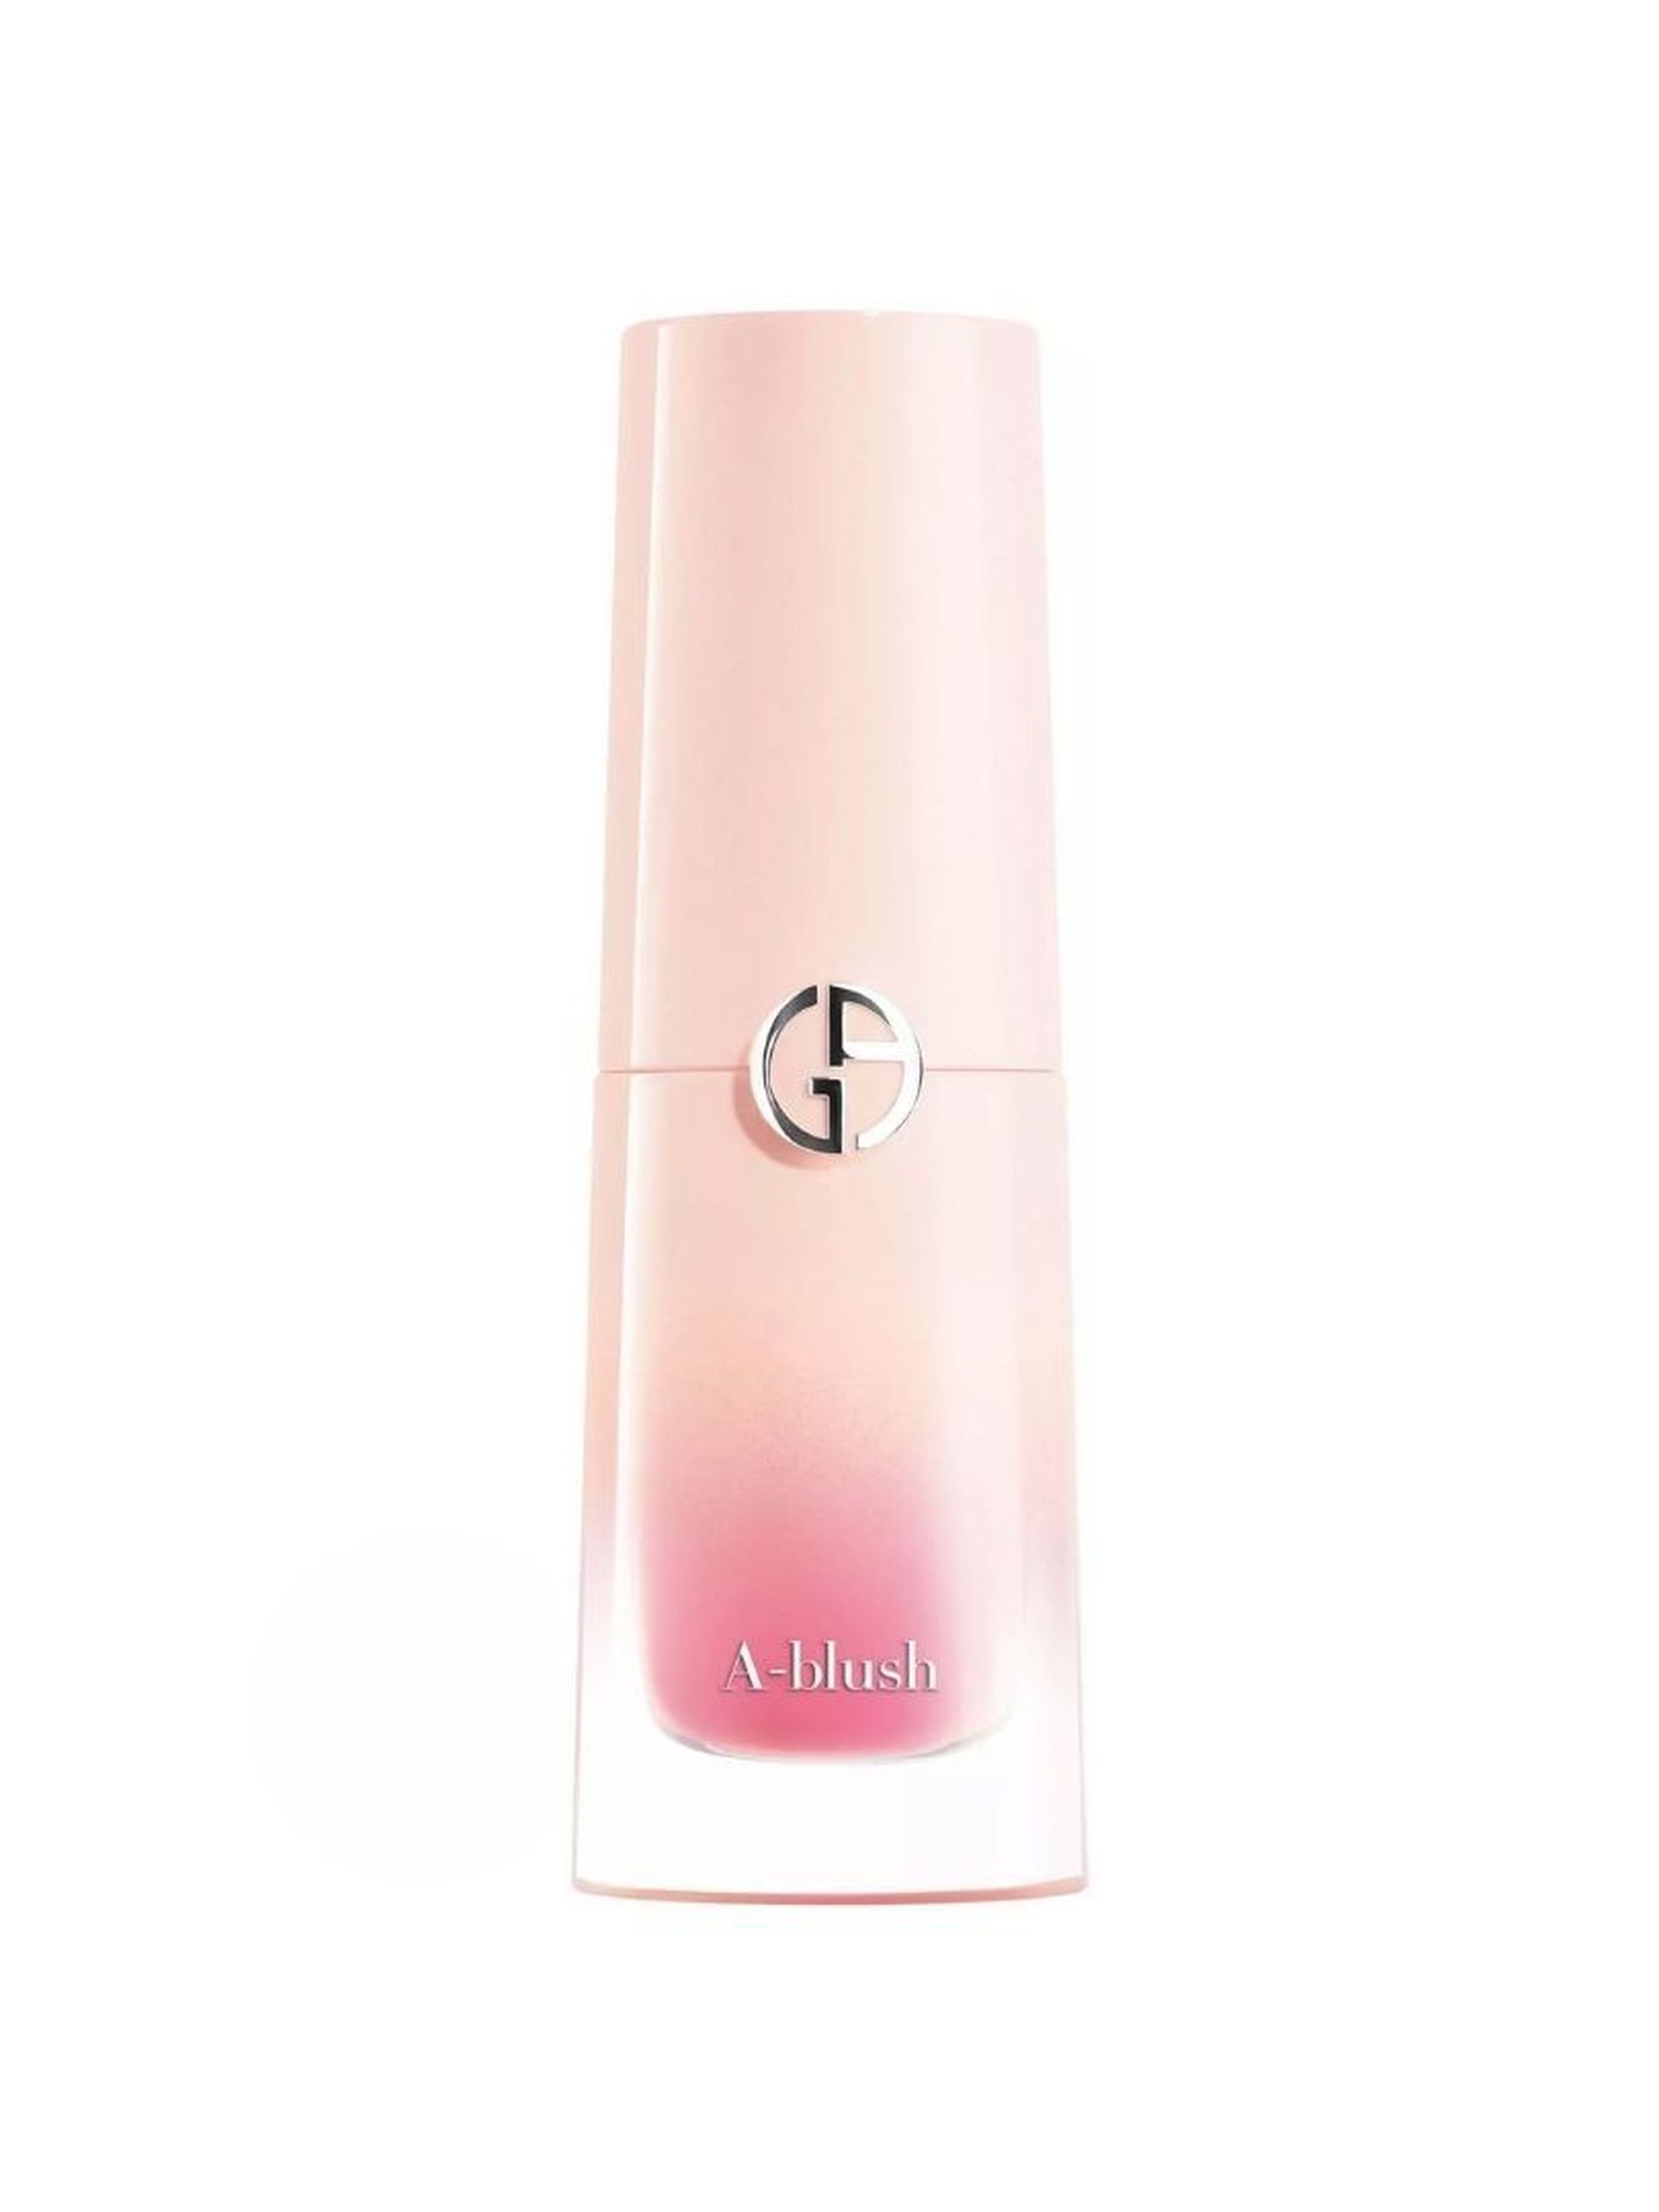
Step 5: Blush
The key item to making us “look friendly” is the Armani Neo Nude A-Blush. This natural looking tint allows to bring back a little bit of life onto the cheeks without being overpowering. Besides, it’s buildable yet sheer, which adds onto the whole glow theme we have going on.
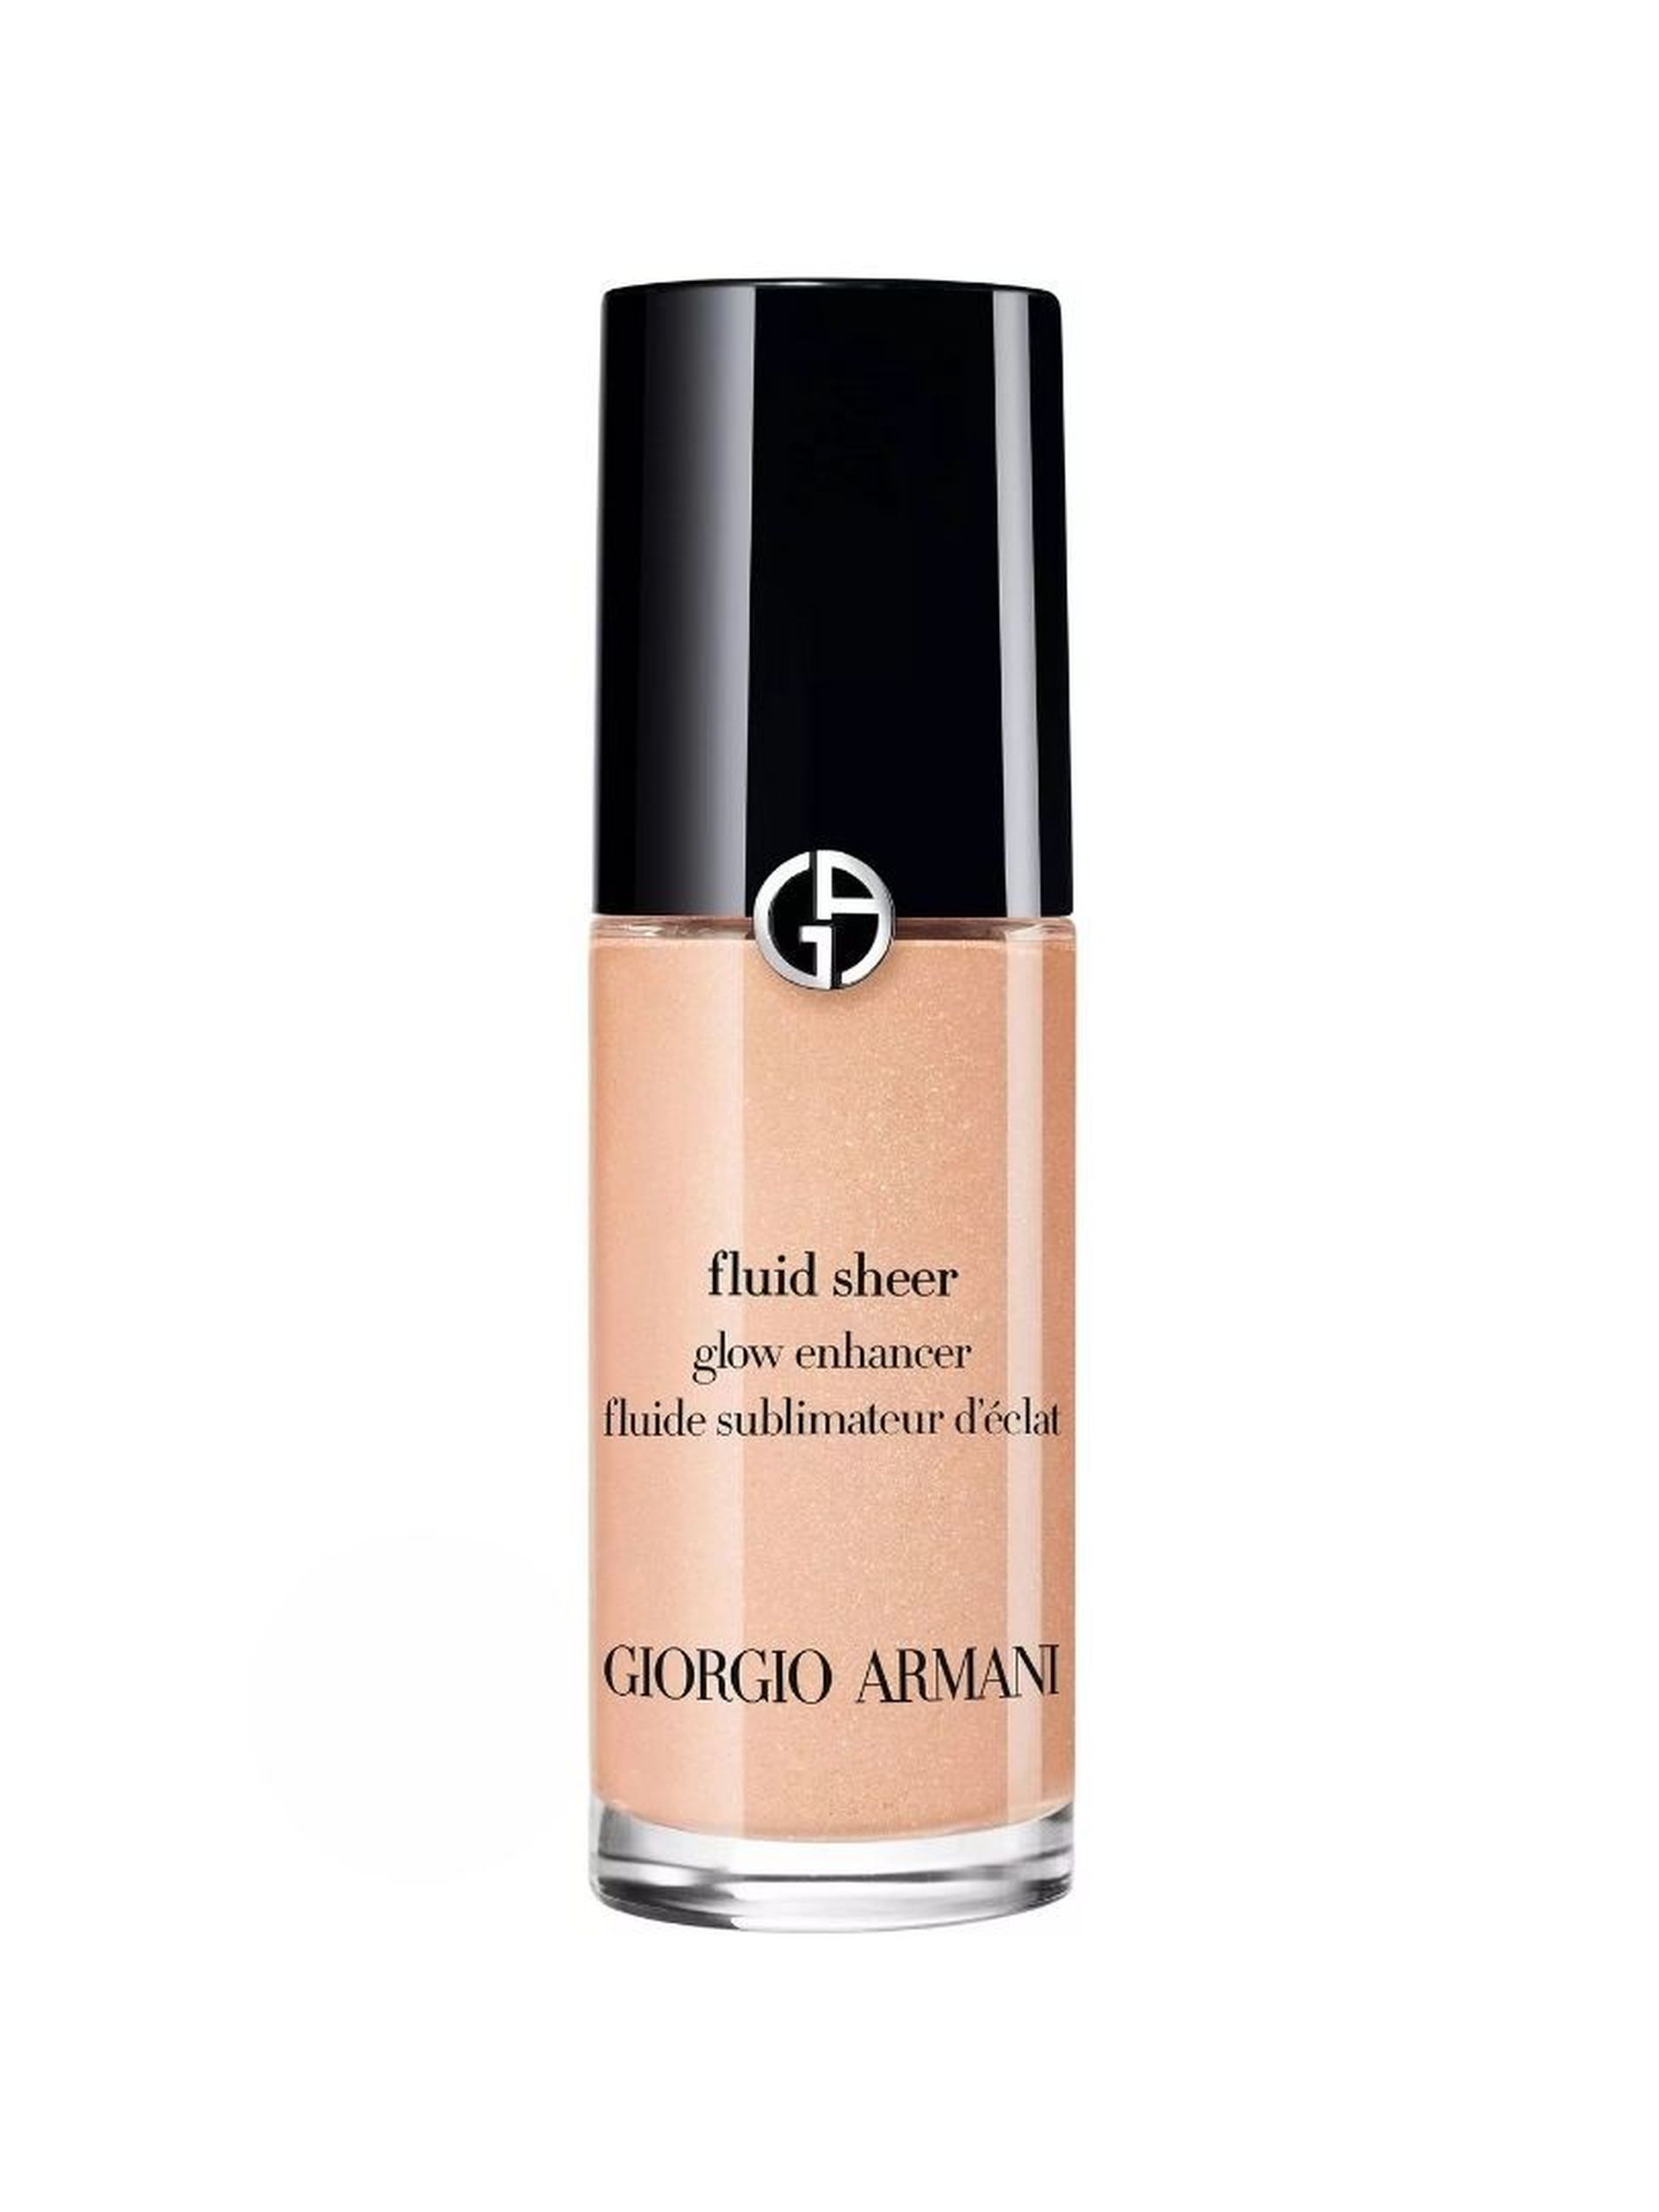
Step 6: Highlight
There is no such a thing as too much glow, so for this step we light up all the high points of our face to create dimension and contrast with what we just sculpted. While being subtle and blendable, the Fluid Sheer Glow Enhancer still gives a very natural looking shine that balances out with the general glow of the rest of our complexion.
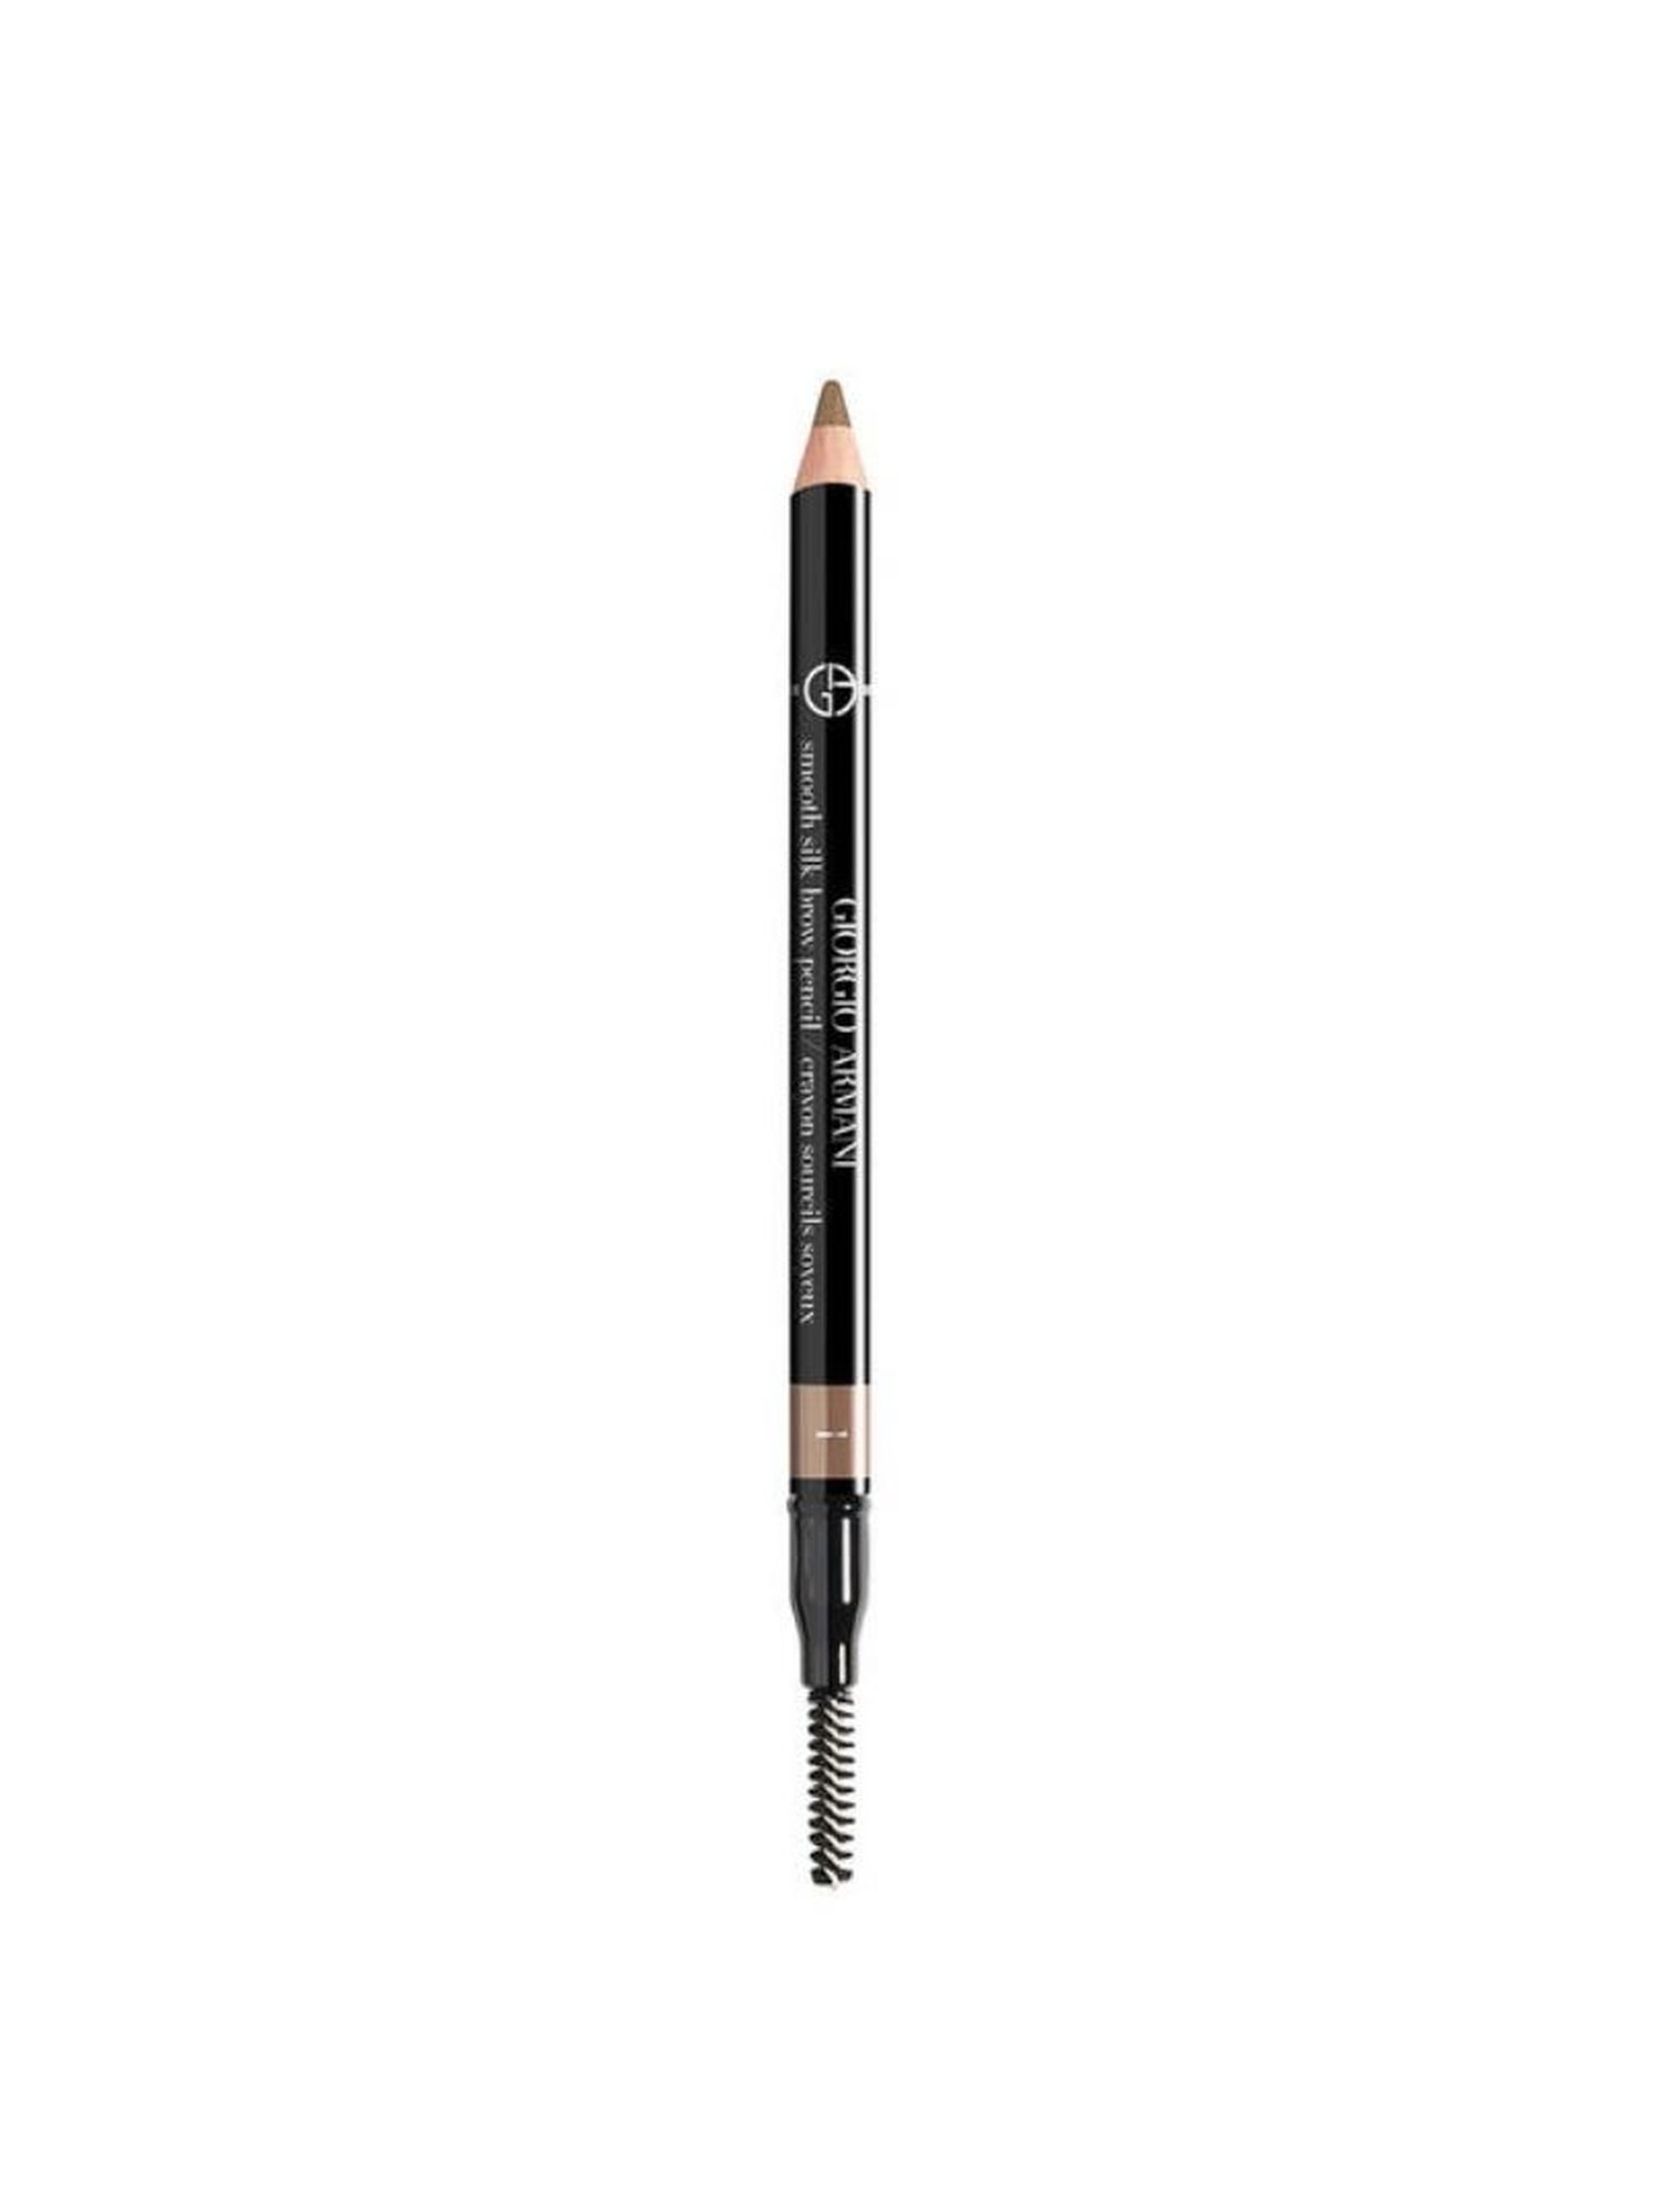
Step 7: Draw in the eyebrows
Makeup doesn’t need to have a schedule, that’s why we leave for the eighth step drawing in the eyebrows. As we’re going for a natural look, the key is drawing thin and hair-like strokes with the Smooth Silk Eyebrow Pencil, only filling in the areas where it’s needed and combing the natural hairs onto their place.
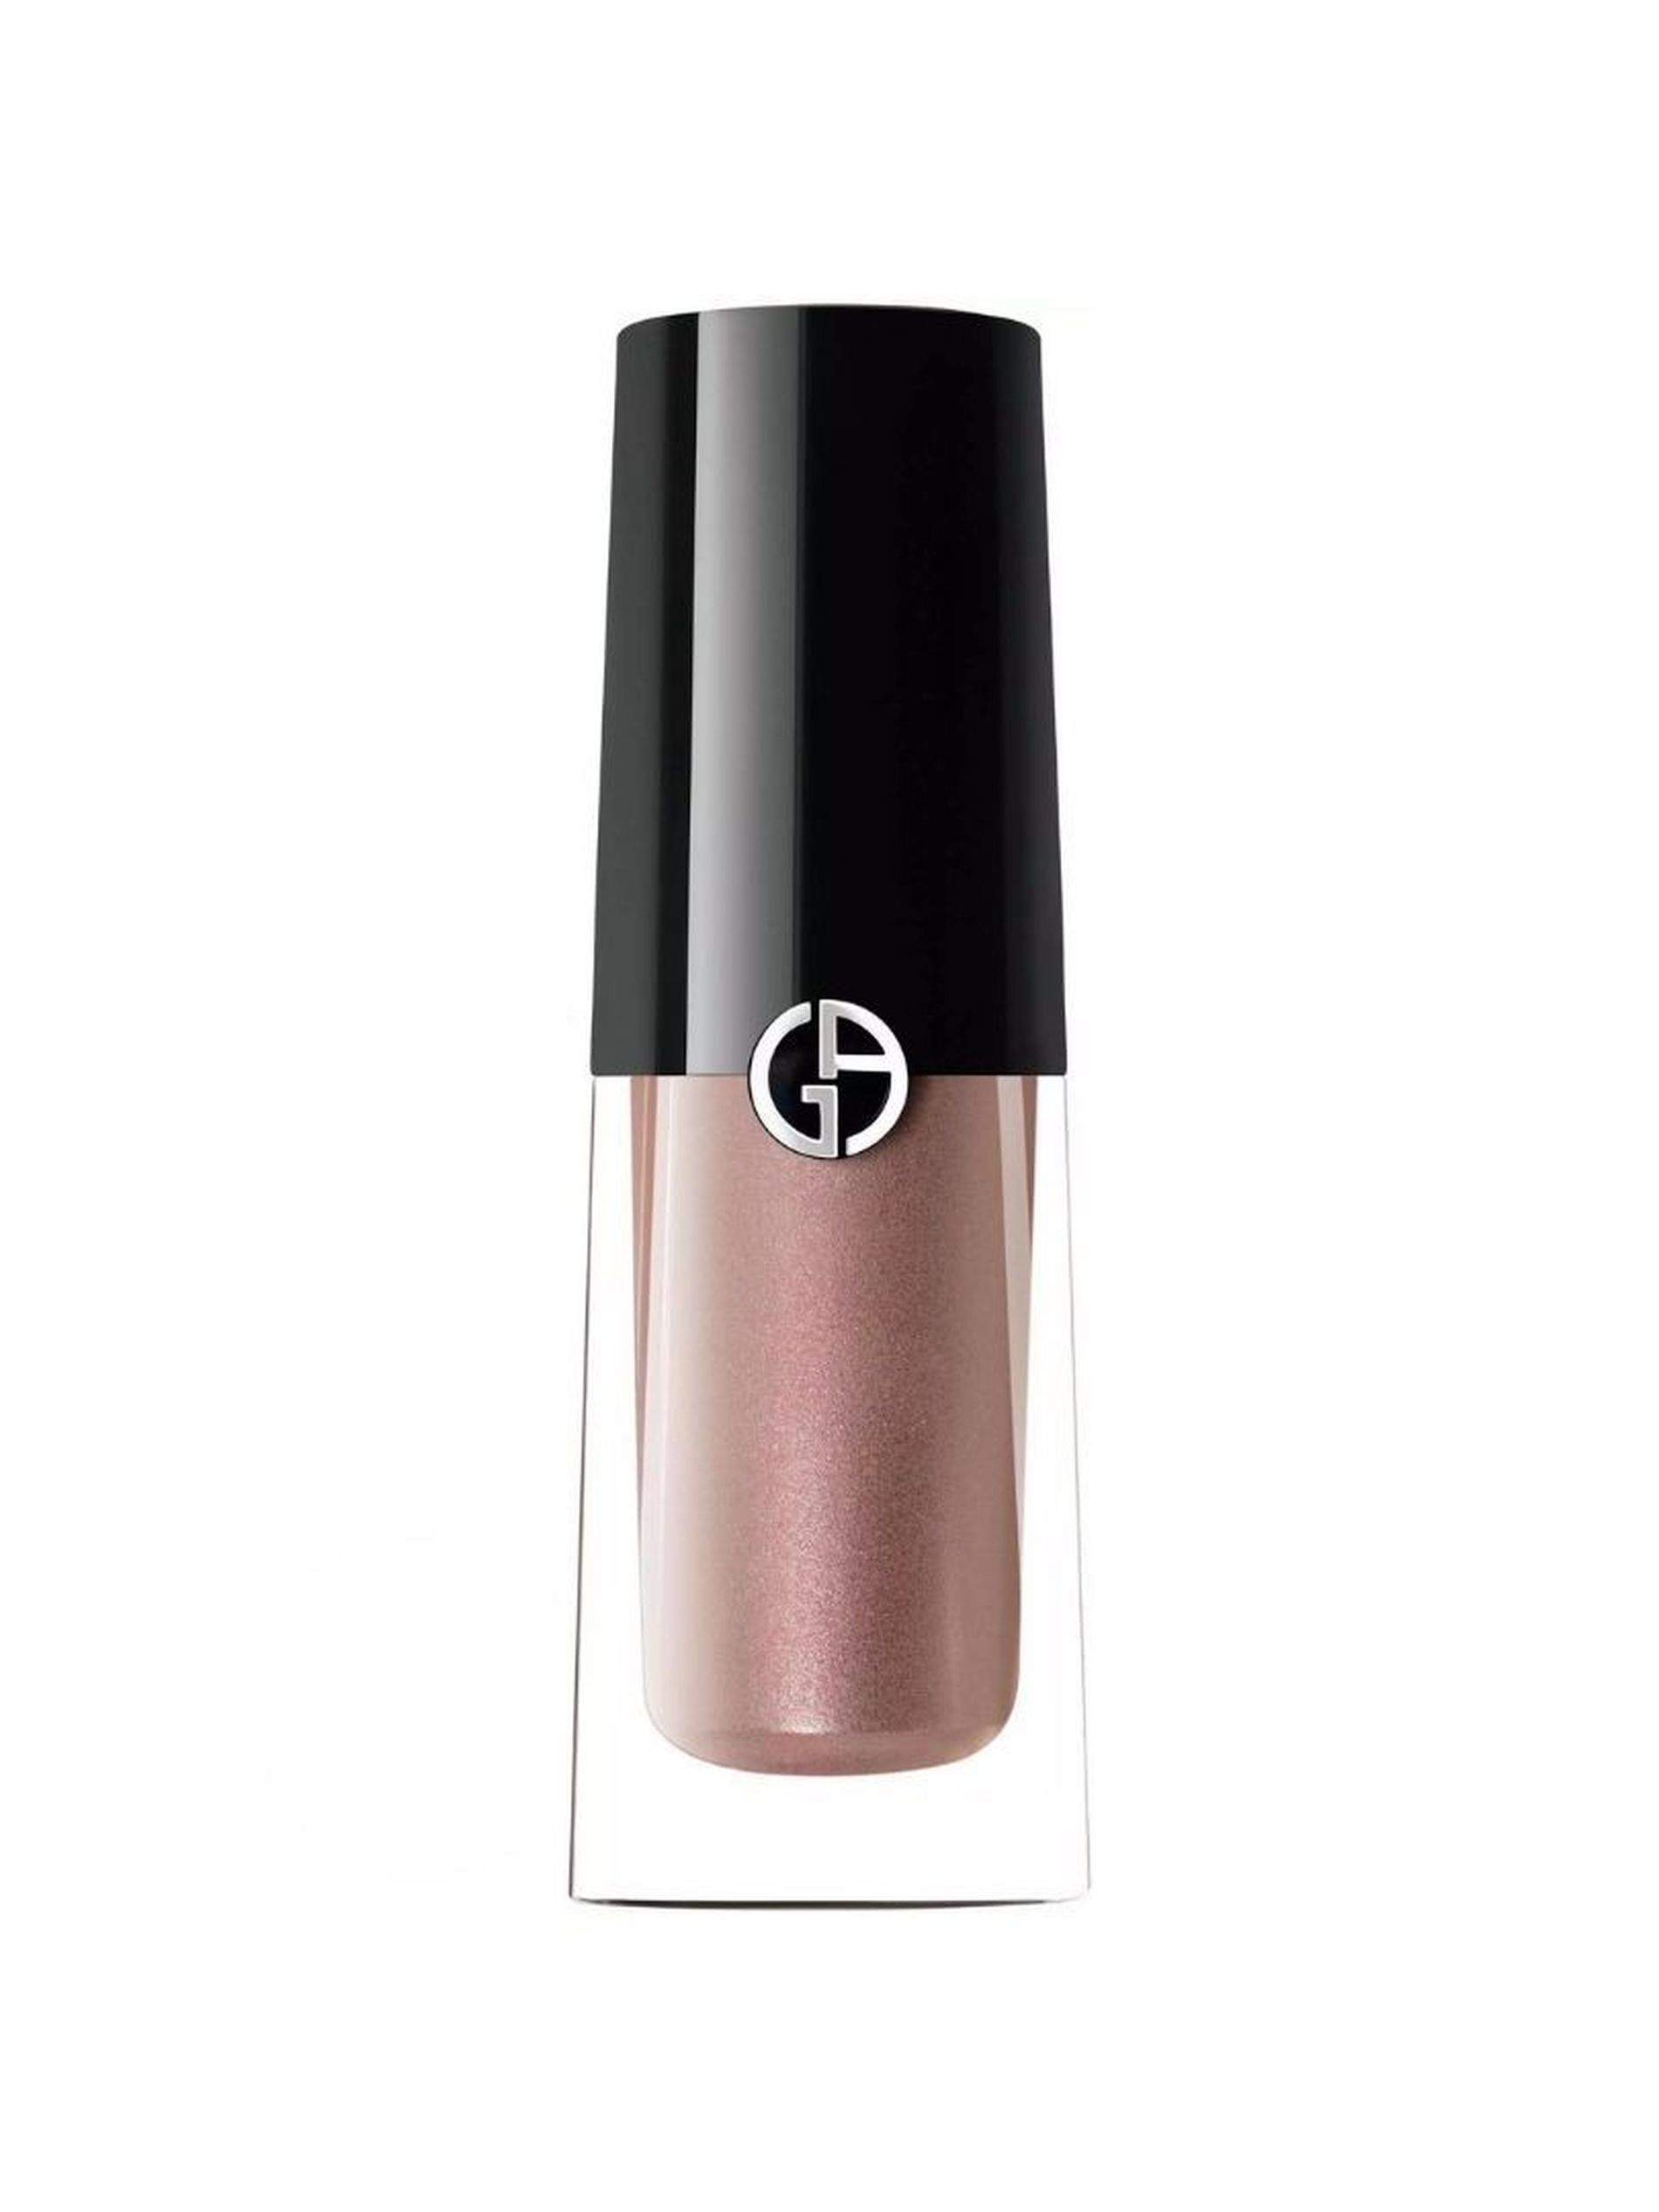
Step 8: Colour in the eyes
Keeping true to the glow concept and that somewhat reckless behaviour we love, for the eyes we go in with the Eye Tint Liquid Shadow completely coating the lid and giving a little bit of depth with a darker shade of the same product. Being a liquid tint, one can blend colours together and blend out the edges to give a natural smokey - but very glowy - look.
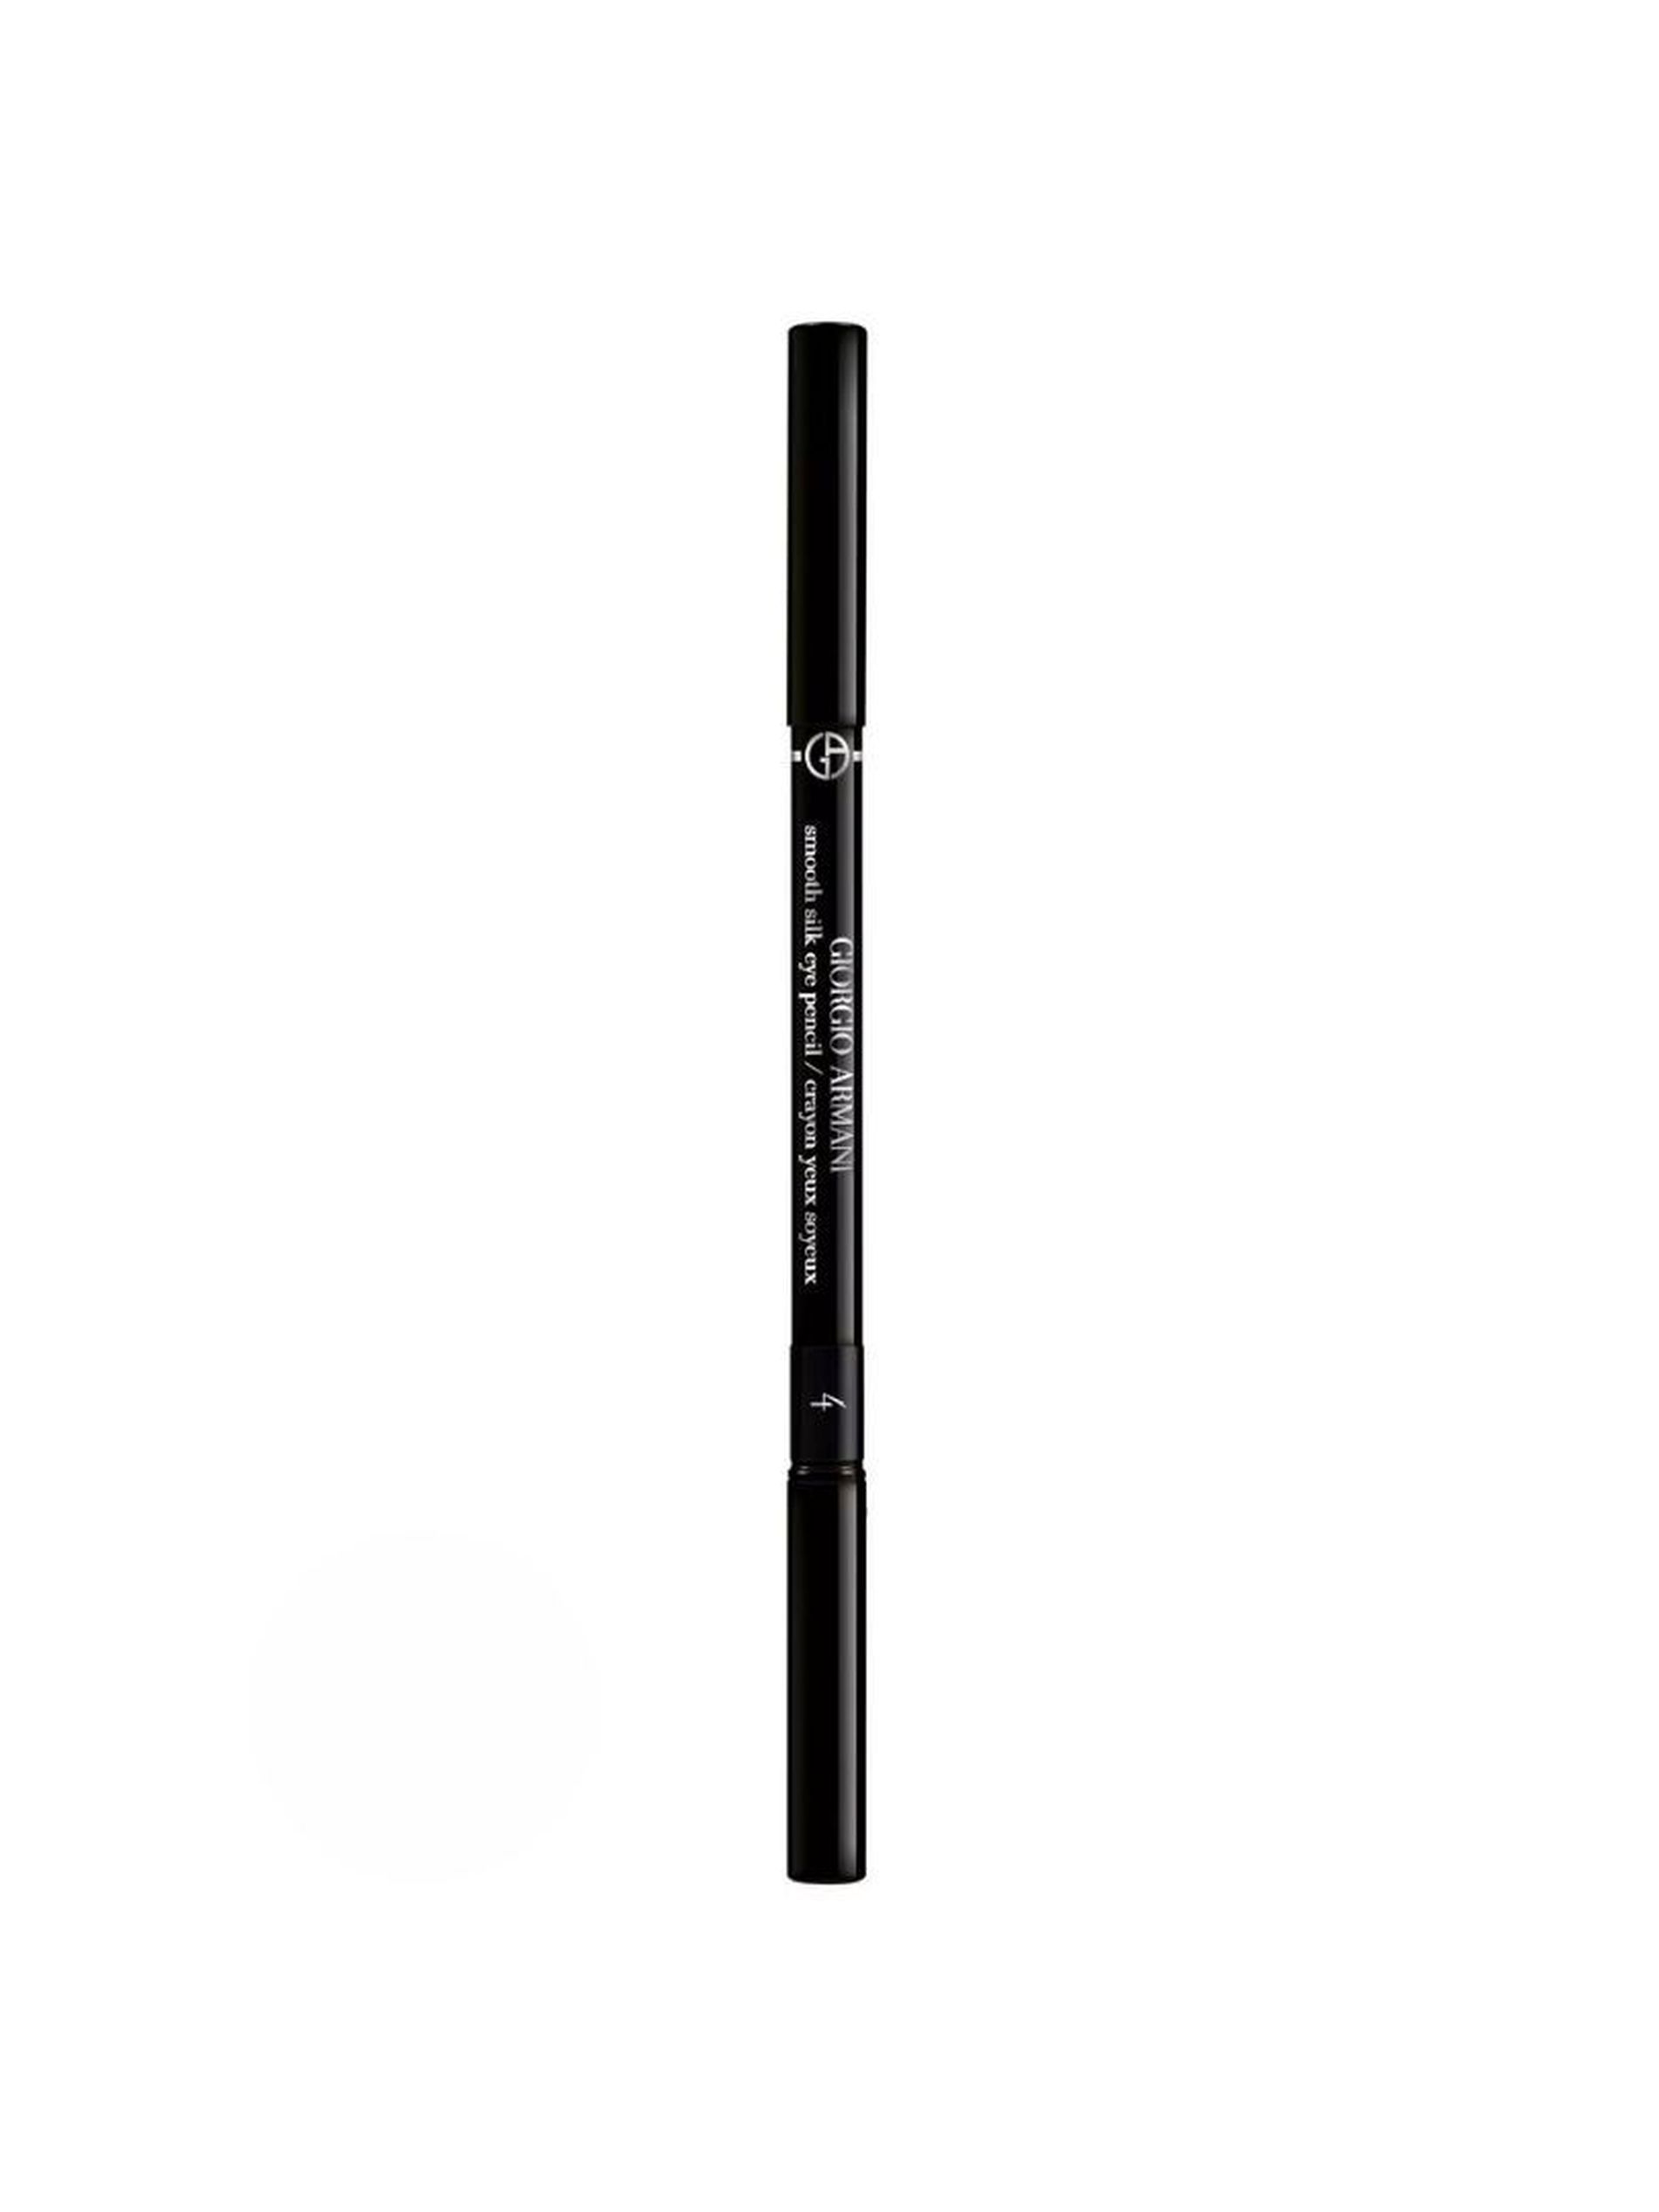
Step 9: Line the eyes
After tinting the eyes, we subtly define the shape of the eye by colouring in with the Smooth Silk Eye Pencil in the same colour of the darker shadow. This allows one to shape the eye, create a very minimal but defining semi liner and seal the eye look.
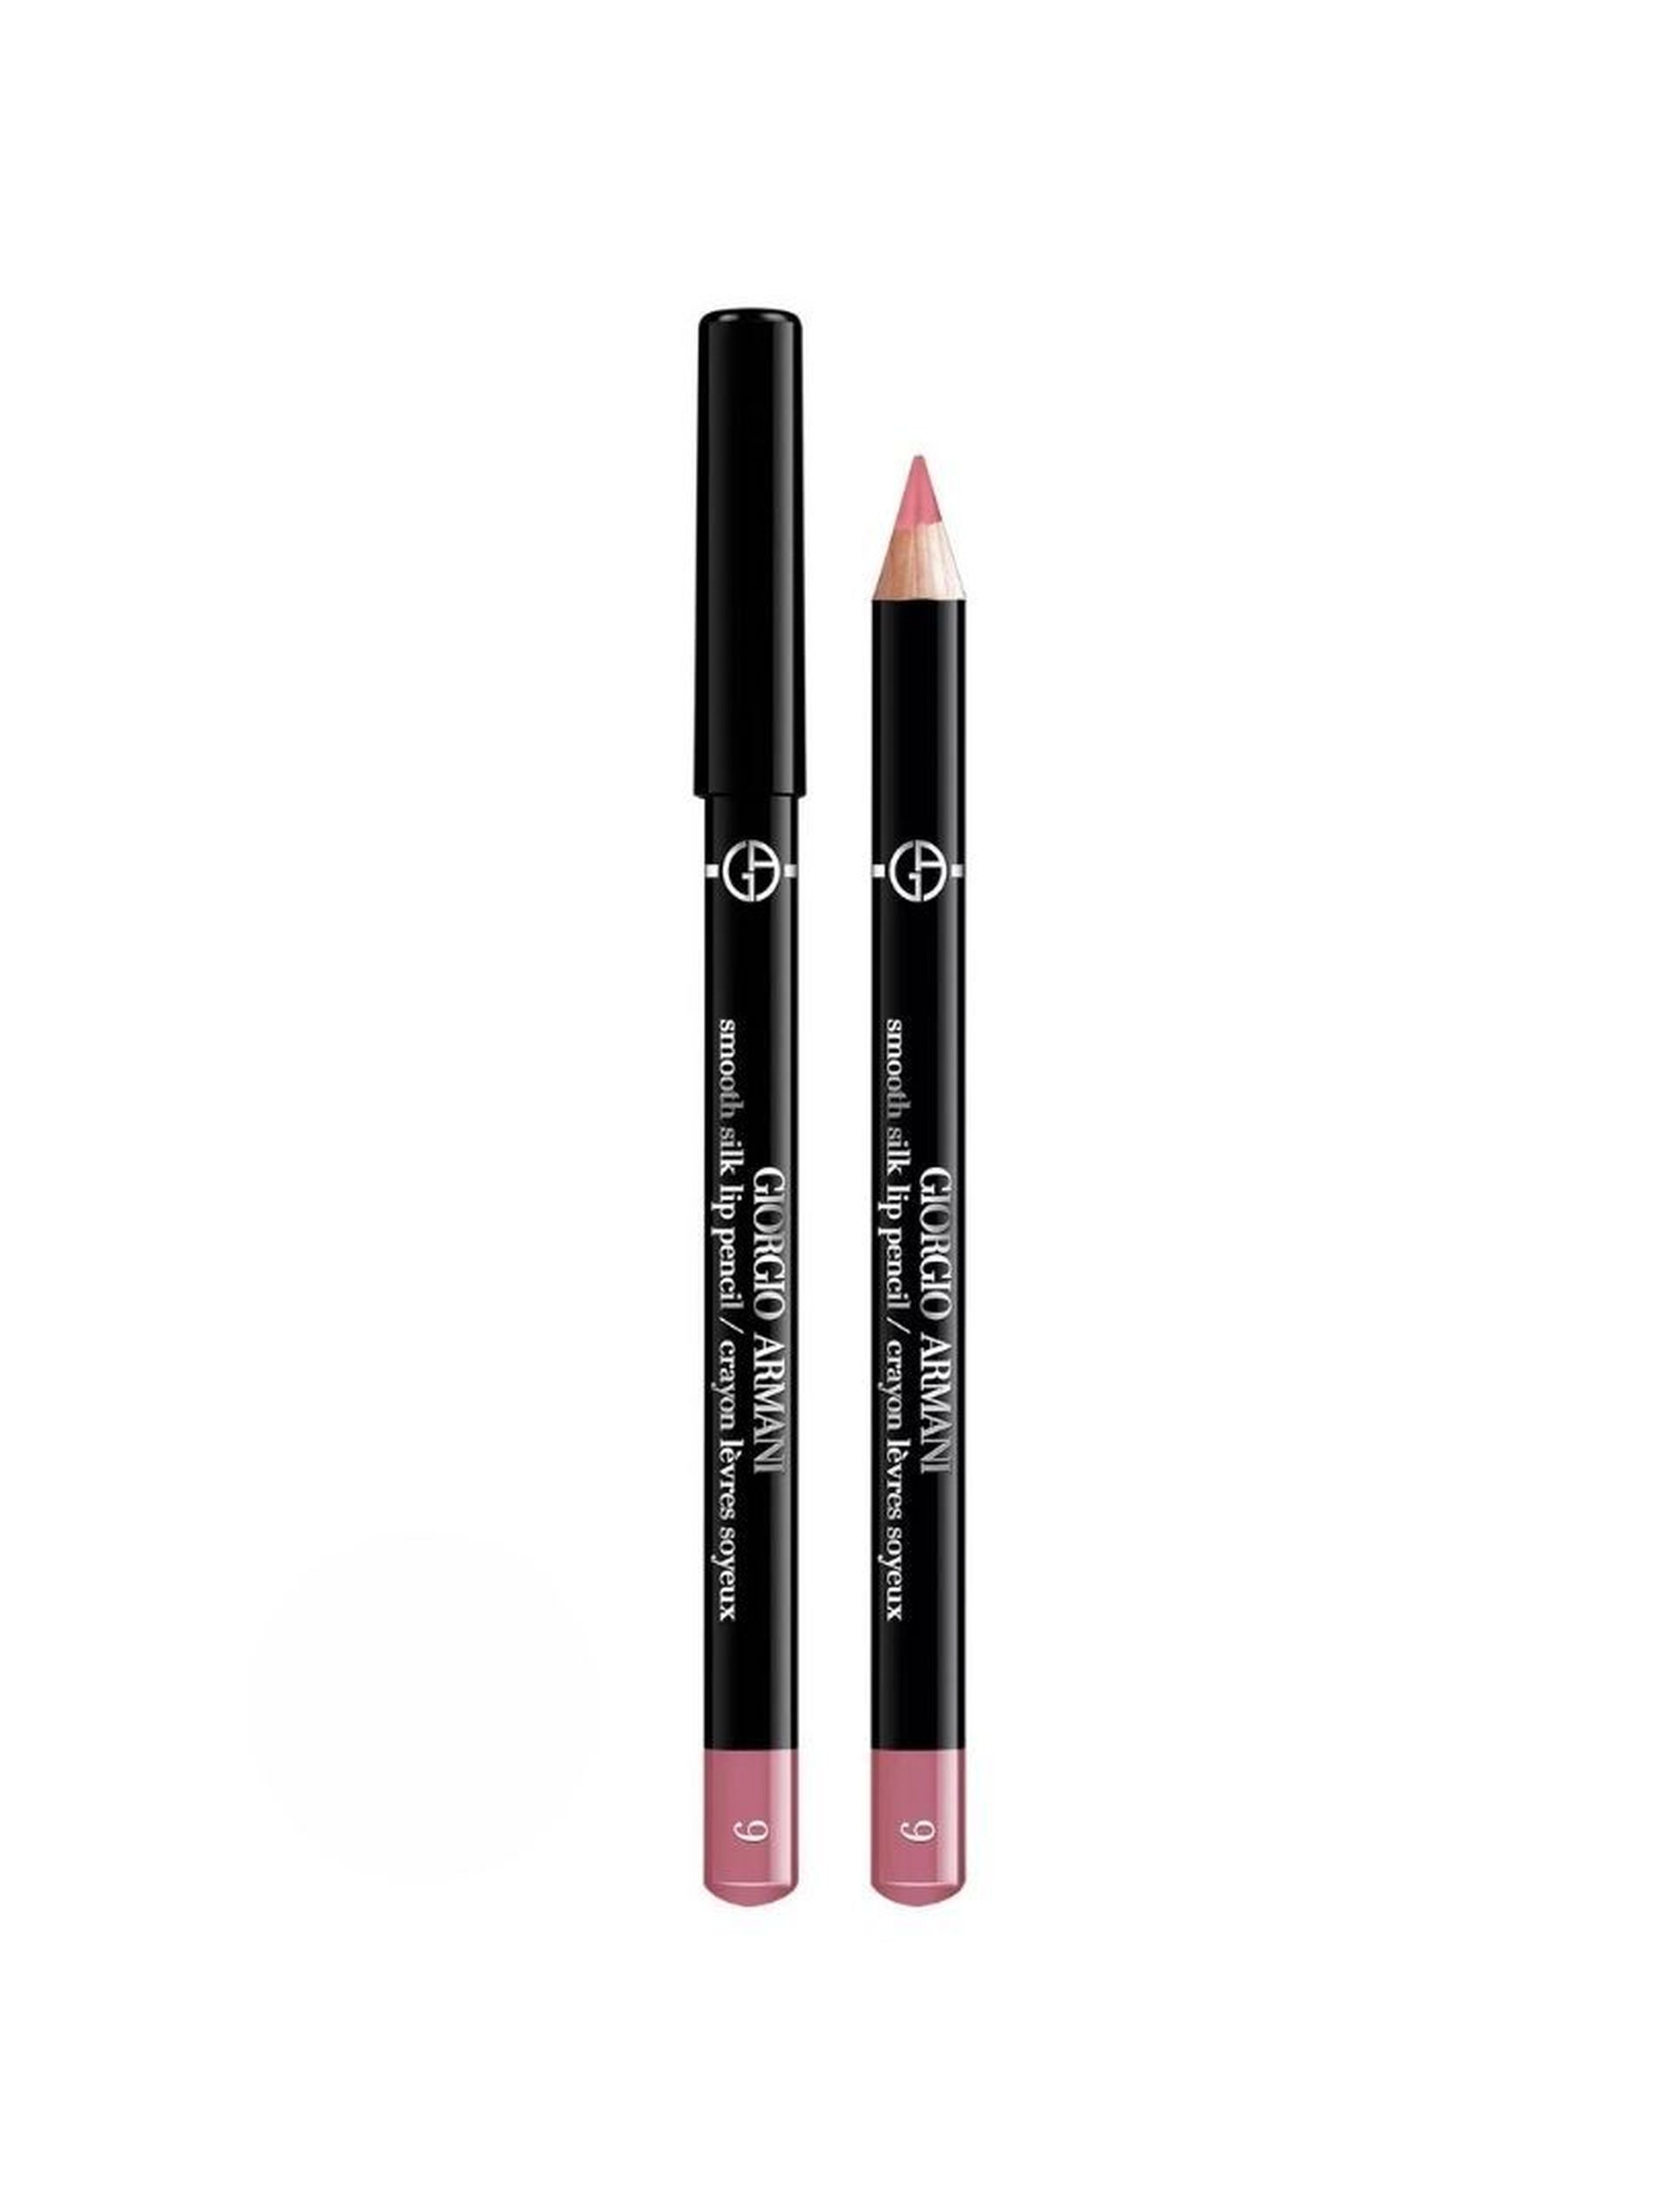
Step 10: Line the lips
Often overlooked, lining the lips - especially when it’s done with the same shade as our natural lip colour - is key to maintaining our pout during the day. Sometimes, it’s not even necessary to go in with lipstick after defining the lips, but in this case, you can use the Smooth Silk Lip Pencil to create an outline that will be filled by your liquid lipstick of choice.
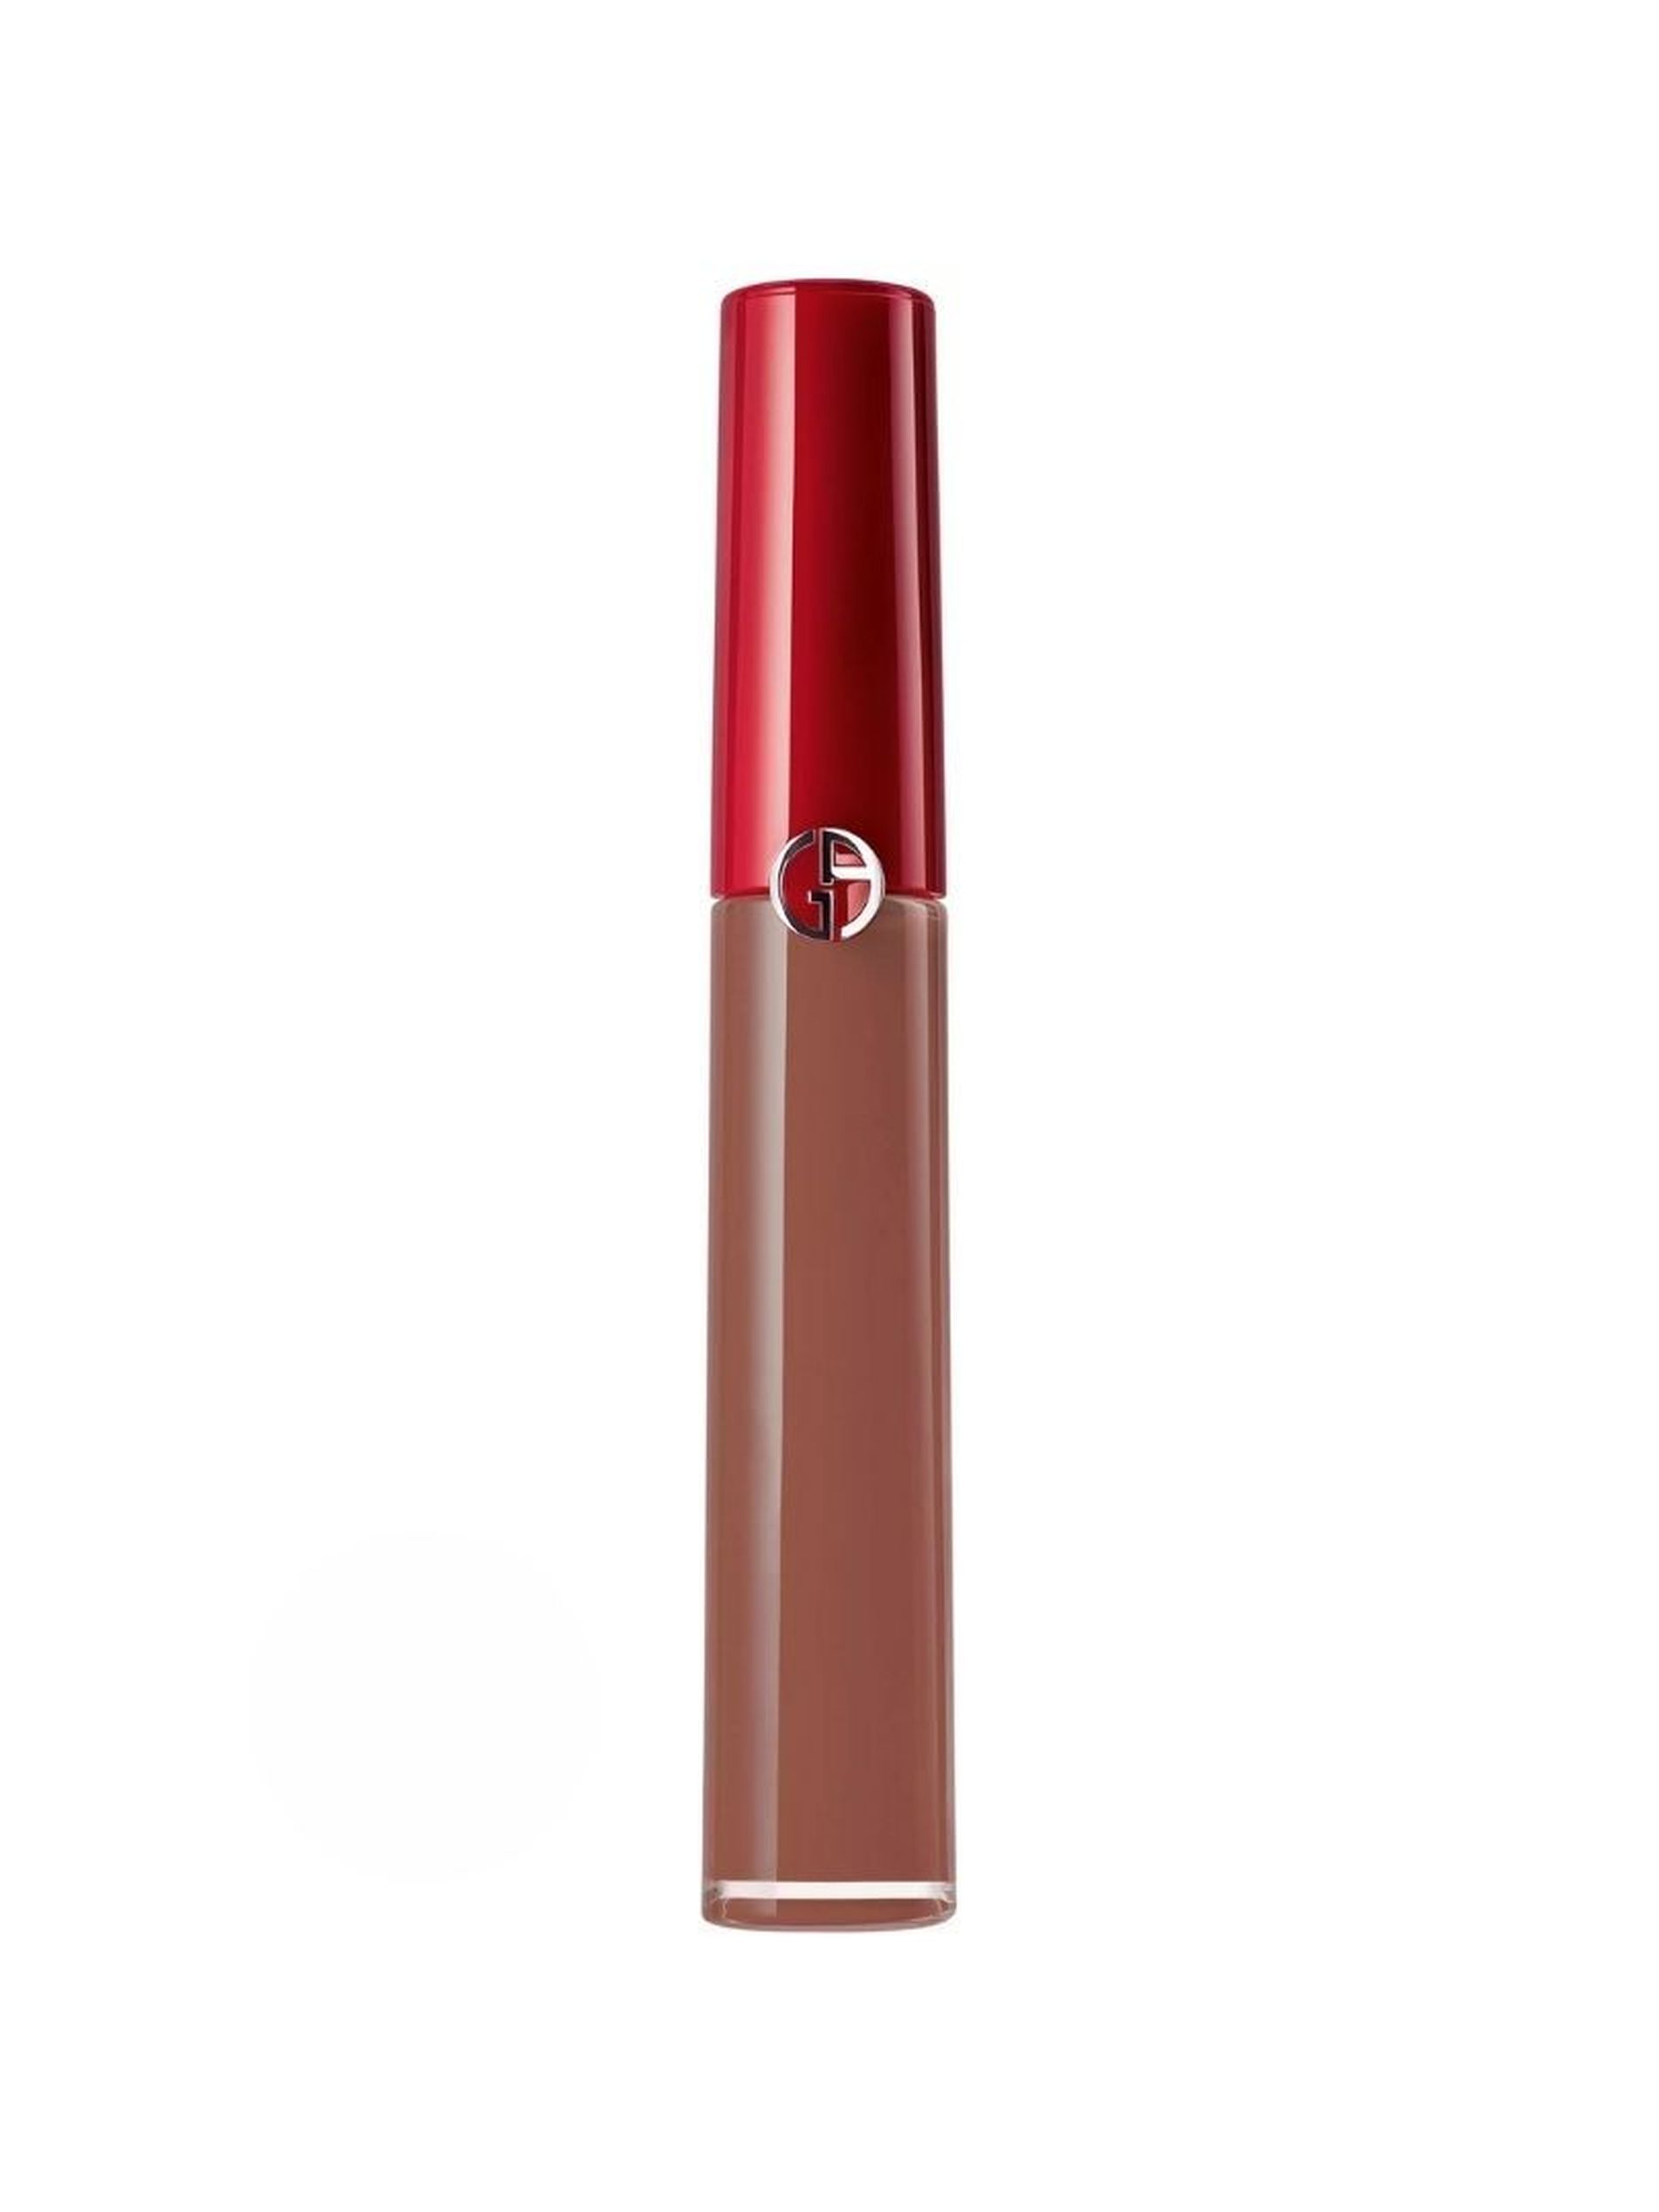
Step 11: Fill in the lips
As we said, for this look we want to fill in the lips and for that we opt for the Lip Maestro that compliments the natural shade of our lips perfectly. Being careful not to over apply; colour in and then blend with the liner.
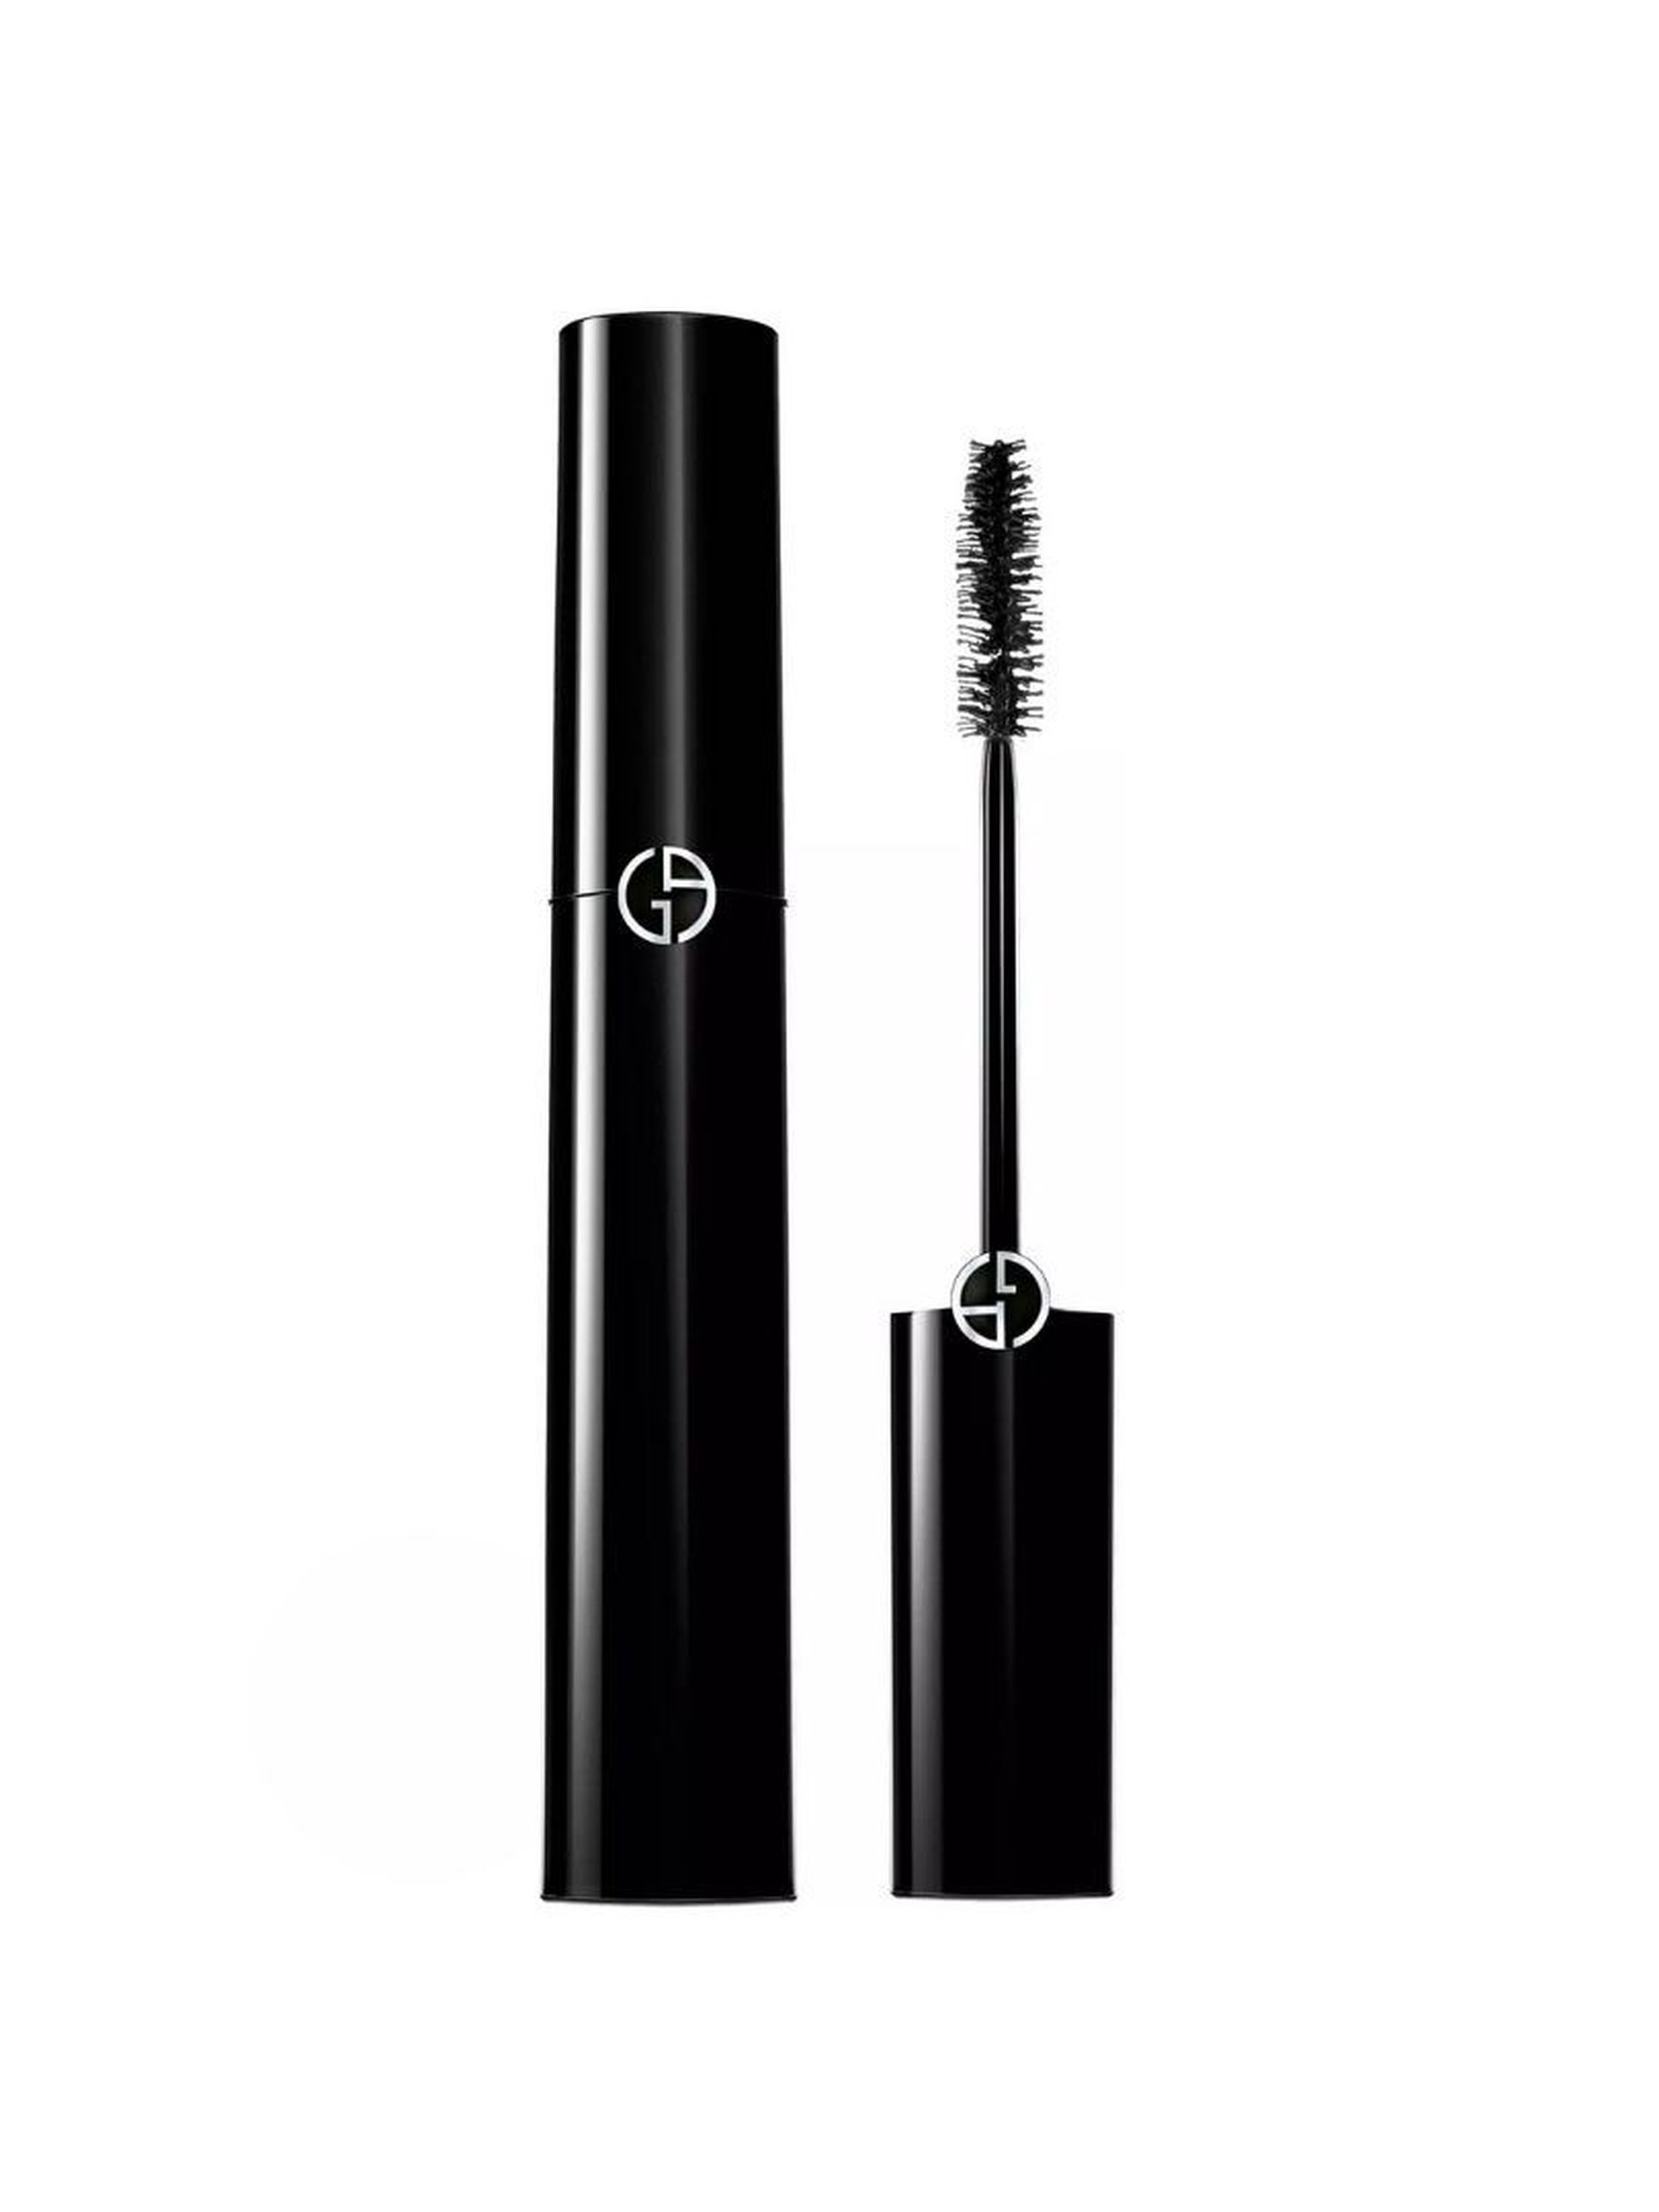
Step 12: Apply mascara
Finally, we seal the final look and give ourselves a wake-me-up with a coating of the Eyes to Kill Classico Mascara, that not only gives definition and length with its oversized brush but also defines our gaze and adds volume to our lashes.
A natural fake glow darling, that’s what we want.
Rawdah Mohamed