Beauty

How to create the perfect eyebrow, according to Anastasia Soare

By Josefin Forsberg

We sat down with the queen of brows (and founder of Anastasia Beverly Hills) herself, Anastasia Soare, to break down her fool-proof step-by-step in crafting the perfect frame for your eyes

Anastasia Soare arrived in Los Angeles in 1990 with art-school notes on the Golden Ratio and a pair of painfully thin arches. “I was a victim of the '80s over-tweezed eyebrows,” she tells me half-amused, half-appalled. Recalling why she began measuring faces with a ruler and compass, the founder of Anastasia Beverly Hills continues: “I thought that I could use [the] Golden Ratio to create that perfect brow. To determine where my arch should start and where it should end.”

Back then, brow products didn’t really exist. “I was mixing aloe vera with an eyeshadow and Vaseline to create a pomade,” she reminisces of her first DIY formula, a back-room blend that would evolve into Anastasia Beverly Hills' emblematic Dipbrow. Her salon clients were impressed, wanting to take the brow blend home. By 1999 the kitchen mix had turned into a nine-piece range and in 2000 Nordstrom installed the first in-store Brow Studio. Madonna and Oprah soon credit their balanced arches to “the queen of brows” Anastasia Soare, and a brand new beauty category was born.

Claudia 'Norvina' Soare, Anastasia's daughter and the current president and creative director of Anastasia Beverly Hills, may have officially joined the ranks in 2016 – but she grew up sweeping the salon floors before school. Teenage rebellion came via a locker room threading session. “I literally came back home with half an inch of an eyebrow. My mom had a heart attack… It took a year to grow back. I looked crazy,” she laughs.

Today, both Anastasia and Norvina have fully mastered the perfect brow. Below, mother and daughter lay out their routine, so clear your dressing table and prepare to dip into this easy-to-follow eyebrow guide.

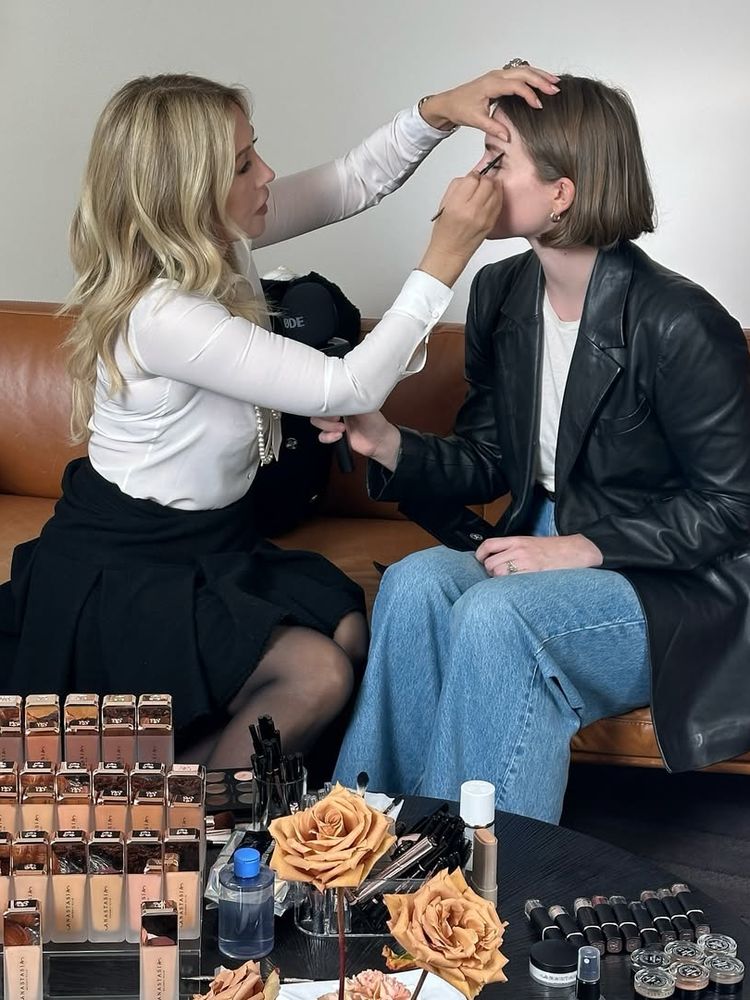
Photo: @anastasiasoare

1

Measure before you move

Hold a straight tool – pencil, makeup brush, knitting needle – from the centre of the nostril straight up. That’s where the brow begins. Pivot it through the iris for the highest point, then angle it to the outer eye corner for the tail. For shaky hands, Anastasia's cardboard stencils replicate the same geometry. “You outline the beginning, keep it parallel to the ground, and then you align the upper part of the stencil with the upper part of the eyebrows,” Anastasia explains.

2

Brush and tint

Comb brows upward with a spoolie to see their true shape. Sparse or pale? “I like to use a tinted volumising gel… It’s going to give you a little volume of the hair and will tint even those very fine light hairs”. No gel? A clear mascara or bar of translucent soap will still give grip and lift.

3

Outline the framework

Lightly sketch a lower line from head to tail with a fine brow pencil or sharp-edged powder brush, then do the same across the top edge. “You just draw a line underneath and on top and then you fill in,” Anastasia explains. Keep pressure gentle; the goal is a guide, not a stripe. Diffuse each line with the spoolie – half the work is in the blend.

4

Fill with feathery strokes

Anastasia’s rule of thumb: “In a full natural eyebrow… the hair is gonna create a shadow on the skin that is one shade lighter than the hair”. Mimic that by first dusting or shading a base colour slightly lighter than your brow hair. Then switch to a matching pencil, pen or angled brush to add thin, upward flicks where hair is missing.

5

Set and lift

For everyday hold, sweep a medium hold clear gel (or a bar of soap activated with a mist of water) through the hairs, brushing upward and outward. Need lockdown power? Anastasia’s go-to is a freeze-frame wax. "After three minutes it will dry and the eyebrow literally doesn’t move."